Rank One Pro
← Back to Rank One Pro

Adding a Story - Coaches Tutorial

Rank One Pro · Last updated April 20, 2026

This tutorial walks coaches through the process of adding, editing, and managing stories (pictures) on your sport webpage through the Athletic Portal control panel.

1 Log In to the Control Panel

Log into the Athletic Portal control panel using the same email address and password that you use to sign into Rank One.

2 Select Your School

Click on the Schools tab in the top menu bar (it may be called Campuses). Select your campus from the list.

Select your school from the list

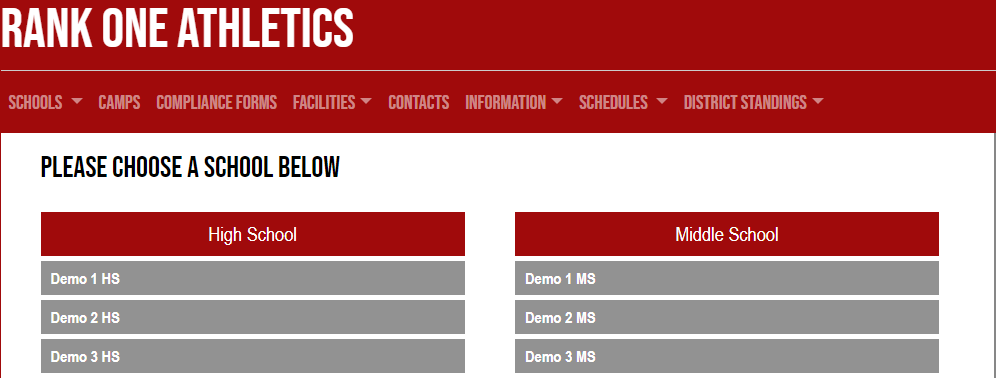
The Schools tab displays all available campuses in the district.

3 Select Your Sport

Select your sport from the list. Make sure to select the correct gender associated with the sport (e.g., Women's Soccer).

Select your sport from the activity list

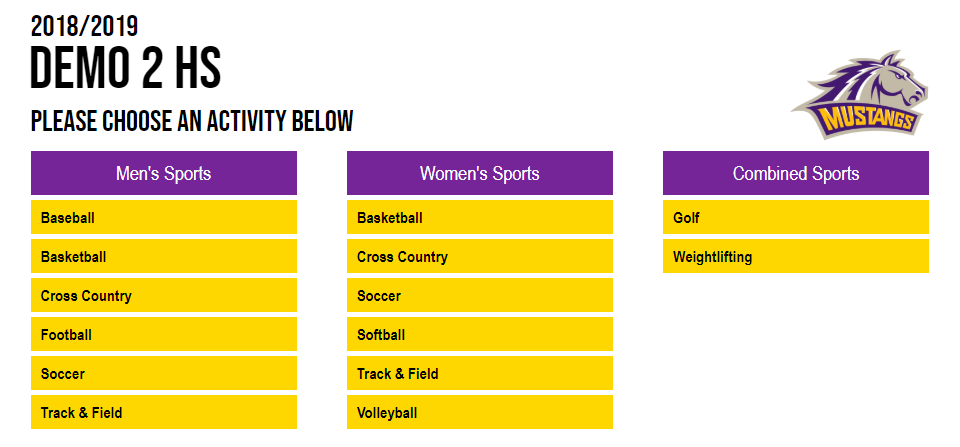
Choose the correct sport and gender from the available activities.

4 Locate the Stories Section

To add or remove a story (picture), click the green Edit button located in the Stories section of the website.

Stories section on the sport webpage with Edit button

The green Edit button is located in the Stories section of the sport page.

5 Add a New Story

To add a new story (picture to the website), click the Add button.

Edit Stories page with Add button

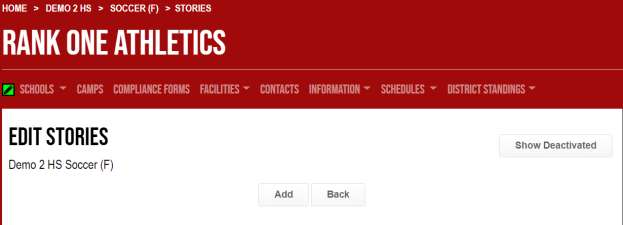
Click Add to create a new story entry.

6 Enter Story Details

Fill in the story details using the Add Story form:

  1. Title -- Give the story a title (e.g., "Welcome to the Lady Mustangs Soccer Website!").
  2. Select File -- Use the "Select File" box to browse for the picture in your documents.
  3. Choose Picture -- Select the picture you would like to add and click Open.
  4. Position the Image -- Click and drag the picture with your mouse to move it right/left or up/down inside the white border. Use the scroll bar underneath the picture to zoom in or out. Once positioned correctly, select Apply.
  5. Link (Optional) -- To redirect viewers to a different website when they click the picture, select "Would you like to enter a link to more information?" and enter the URL.
  6. Detail (Optional) -- To add custom details about the picture, select "Would you like to enter more detail about the story?" and type your description.
  7. Image Credit (Optional) -- Enter the photographer's name in the "Image Credit" box.
  8. Save -- After all details are entered, select Save at the bottom.
Add Story form with title, image, and options

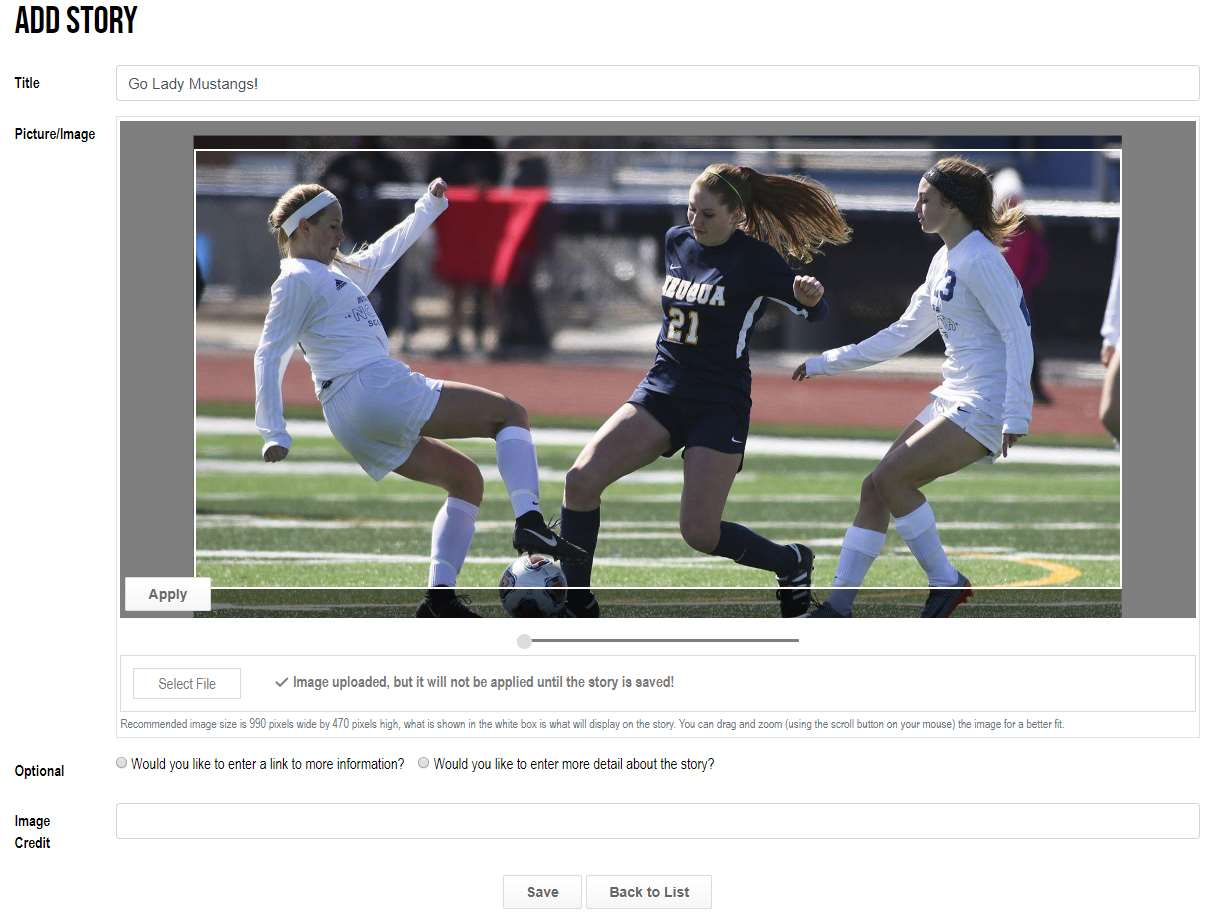
The Add Story form where you enter the title, upload an image, and configure optional settings.

Tip: We recommend an image size of 990 pixels wide by 470 pixels high for the best display.
7 Edit, Delete, or Reorder Stories

To manage existing stories, follow Steps 1-4, then:

  • Edit -- Click Edit next to the story you want to update, then make your changes.
  • Delete -- Click Deactivate to remove a story from the website.
  • Reorder -- Click on the arrow symbol and drag the story to rearrange the display order.
Edit Stories list with edit, deactivate, and reorder options

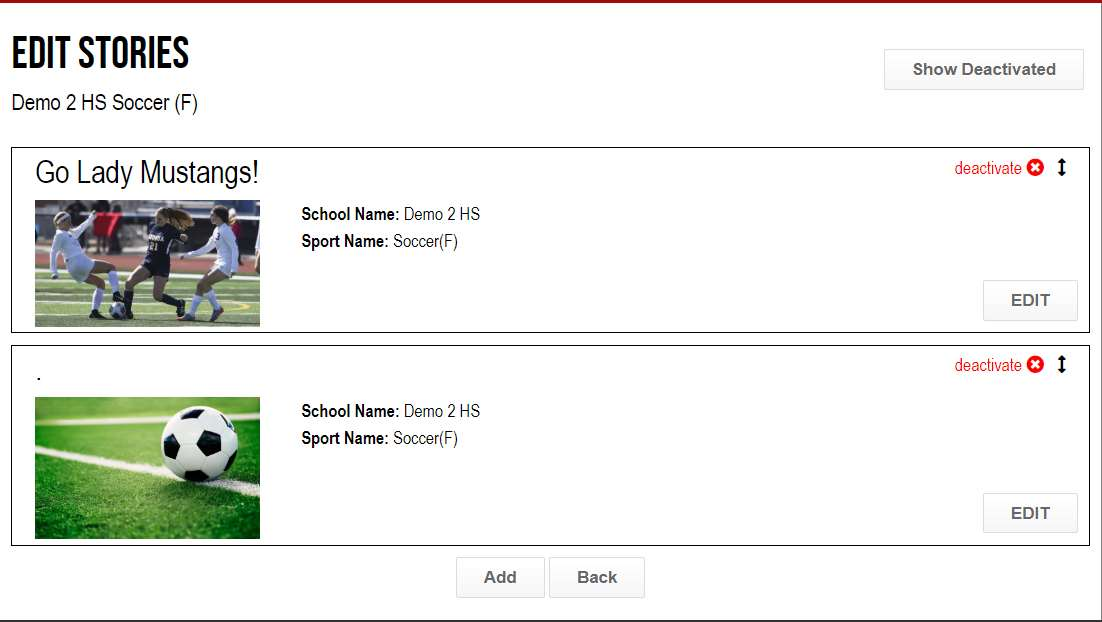
Manage existing stories by editing, deactivating, or reordering them.

Tip: If there are multiple stories, they will automatically scroll on your webpage every 5 seconds.
Need Help? For additional assistance with adding or editing stories on the Web Portal, please email support@rankone.com.