Rank One Pro
← Back to Rank One Pro

Adding a Story to the District Webpage

Rank One Pro · Last updated April 20, 2026

This tutorial explains how to add, edit, and manage stories (pictures) on the district-level webpage through the Athletic Portal control panel.

Important: You must be logged in as an Athletic Director (AD) or Assistant AD in order to add or edit stories on the district webpage.
1 Log In to the Control Panel

Log into the Athletic Portal control panel using the same email address and password that you use to sign into Rank One.

District webpage showing the Stories section

The district webpage with the Stories section visible in the main content area.

2 Open the Stories Editor

To add or remove a story (picture), click the green Pencil Icon located in the Stories section of the website.

Edit Stories list at the district level

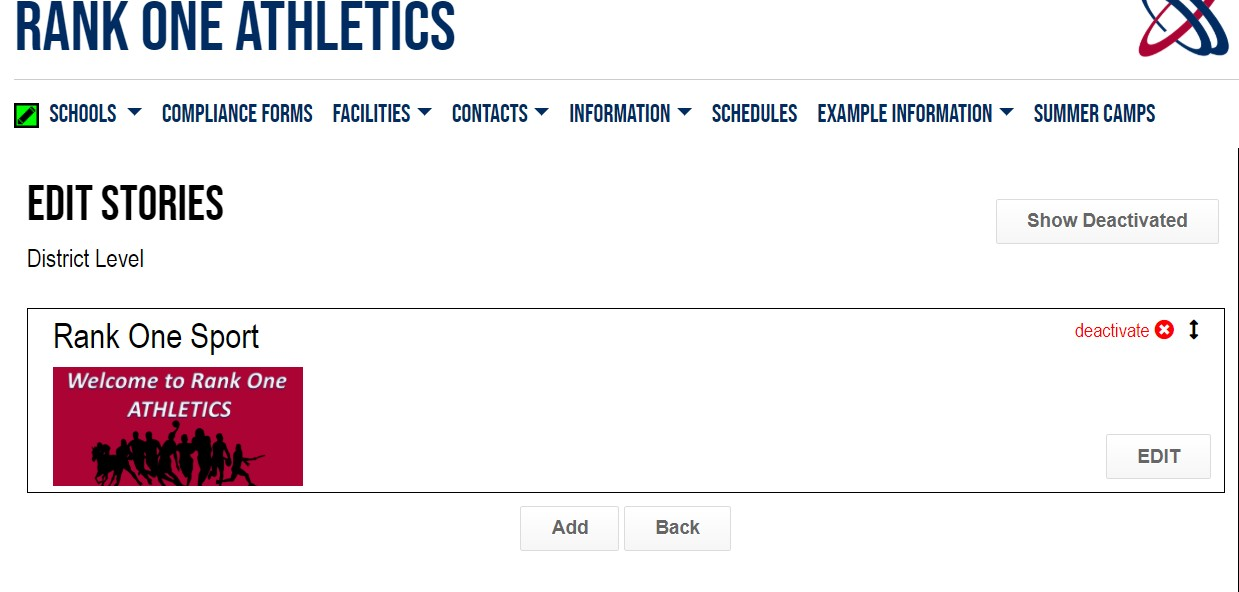
The Edit Stories page showing existing stories at the district level.

3 Add a New Story

Click the Add button, then fill in the story details:

  1. Title -- Give the story a title (e.g., "Welcome to Rank One ISD!").
  2. Select File -- Use the "Select File" box to browse for the picture in your documents.
  3. Choose Picture -- Select the picture you would like to add and click Open.
  4. Position the Image -- Click and drag the picture with your mouse to move it right/left or up/down inside the white border. Use the scroll bar underneath the picture to zoom in or out. Once positioned correctly, select Apply.
  5. Link (Optional) -- To redirect viewers to a different website when they click the picture, select "Would you like to enter a link to more information?" and enter the URL.
  6. Detail (Optional) -- To add custom details about the picture, select "Would you like to enter more detail about the story?" and type your description.
  7. Image Credit (Optional) -- Enter the photographer's name in the "Image Credit" box.
  8. Save -- After all details are entered, select Save at the bottom.
Add Story form with title, image upload, and options

The Add Story form where you enter the title, upload an image, and configure optional settings.

Tip: We recommend an image size of 990 pixels wide by 470 pixels high for the best display.
4 Edit, Delete, or Reorder Stories

To manage existing stories, follow Steps 1-2, then:

  • Edit -- Click Edit next to the story you want to update, then make your changes.
  • Delete -- Click Deactivate to remove a story from the website.
  • Reorder -- Click on the arrow symbol and drag the story to rearrange the display order.
Edit Stories list with edit, deactivate, and reorder options

Manage existing stories by editing, deactivating, or reordering them.

Tip: If there are multiple stories, they will automatically scroll on your webpage every 5 seconds.
Need Help? For additional assistance with adding or editing stories on the Web Portal, please email support@rankone.com.