Stories are the main section of the web portal that scrolls through active stories. This tutorial covers how to add, edit, and remove stories from the Athletic Portal.
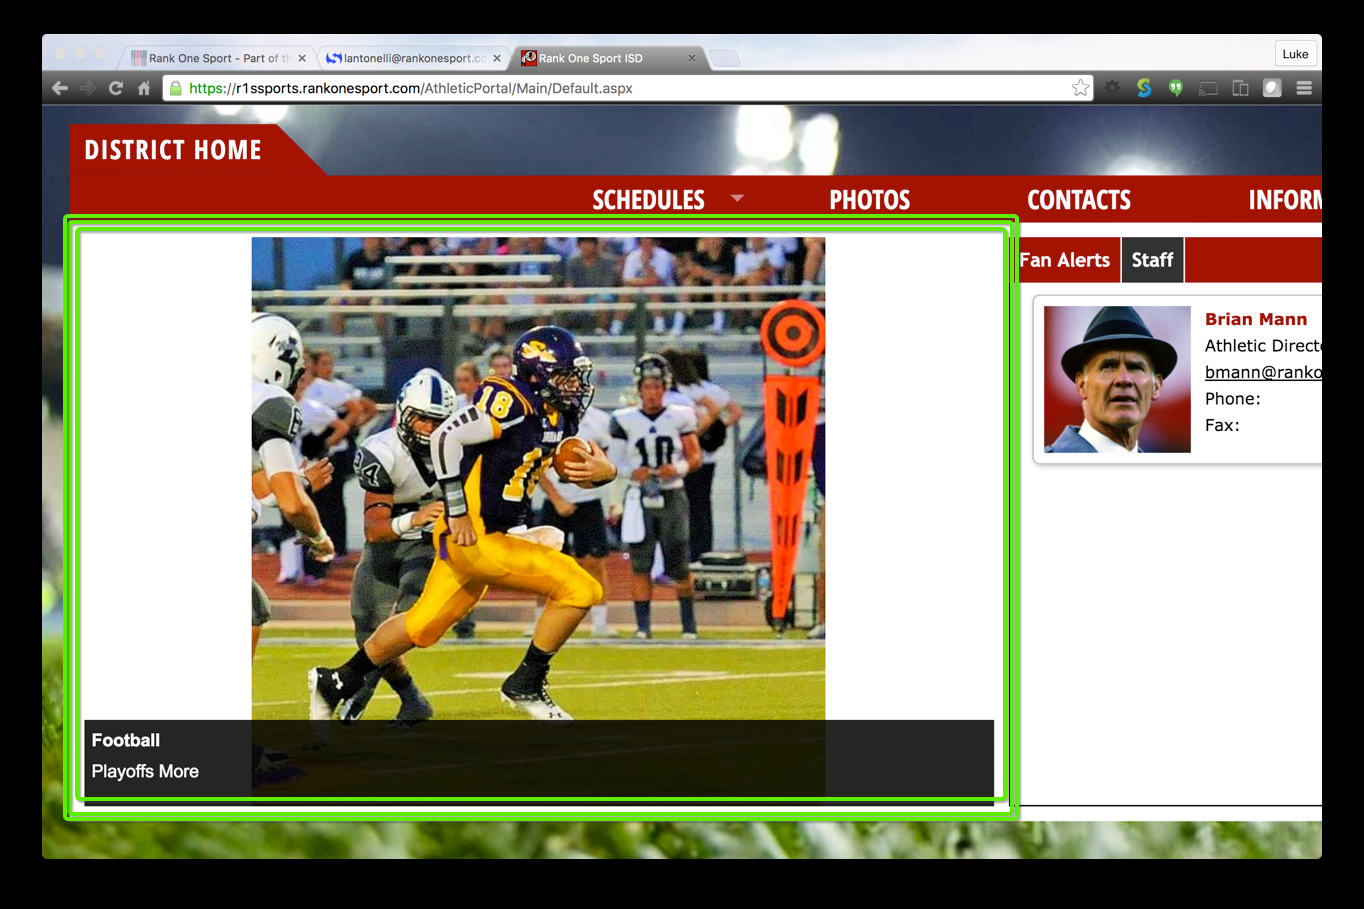
The Stories section is the main scrolling area on the web portal homepage.
1
Log In to the Control Panel
Log in to the Athletic Portal control panel.
2
Select the School and/or Sport
Select the school and/or sport for the page where the story will appear.
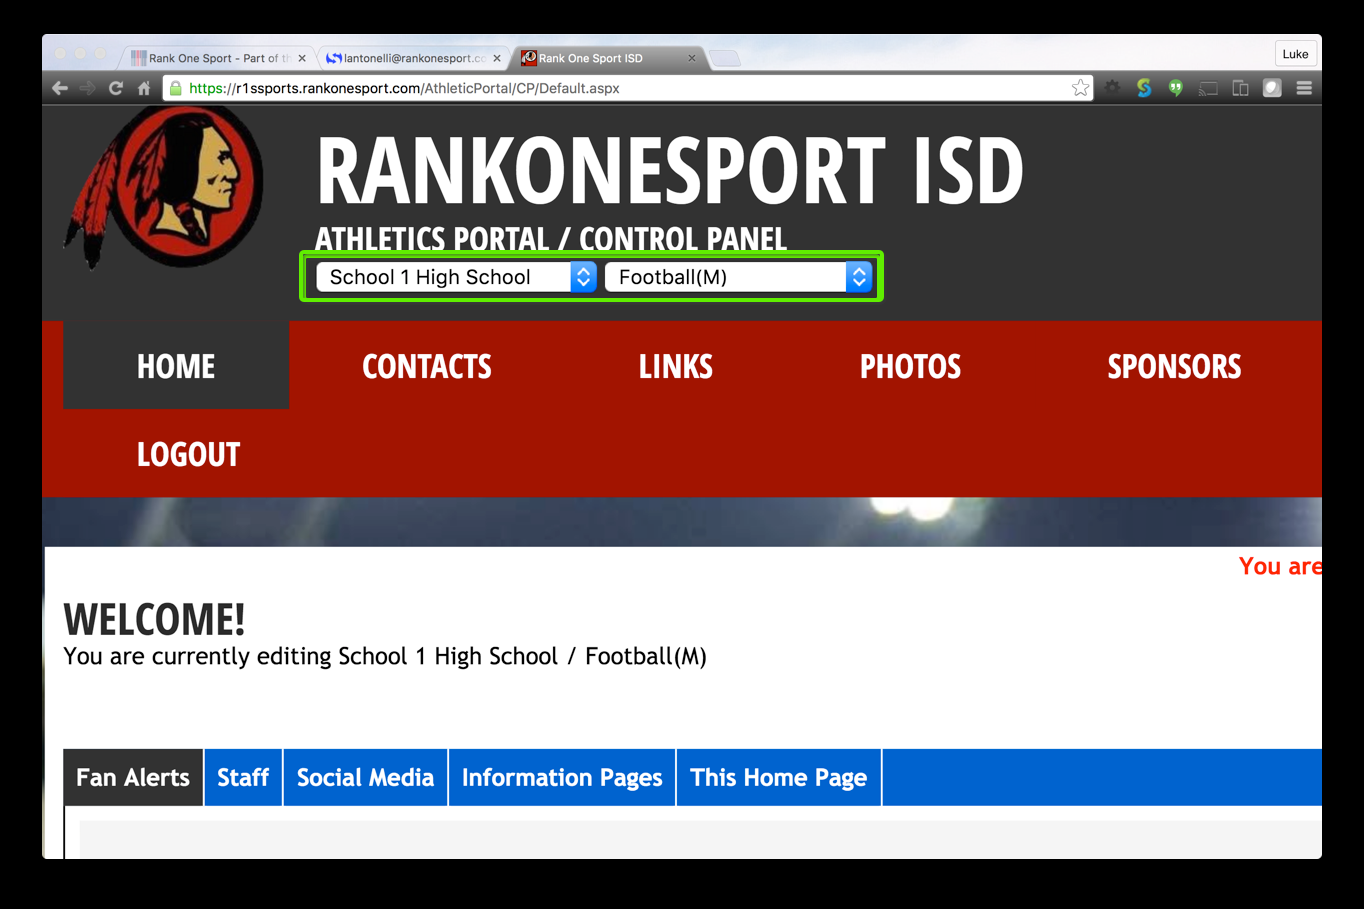
Use the dropdowns at the top of the control panel to select the school and sport.
3
Open the Stories Tab
Click the Stories tab at the top of the screen.
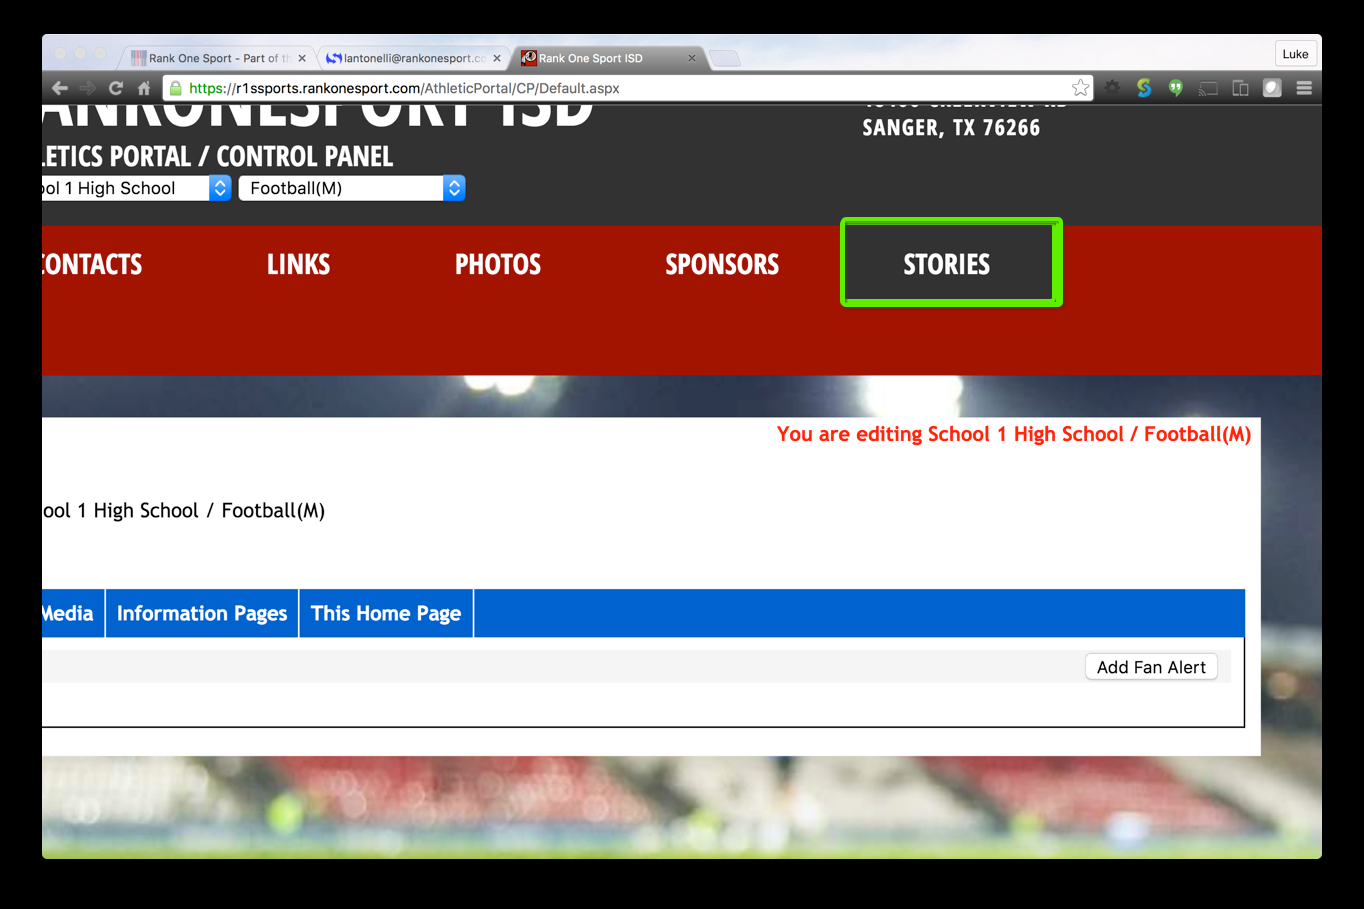
Click the Stories tab to view and manage stories.
4
Add a New Story
Click the Add New button.

Click Add New to create a new story entry.
5
Enter Story Details
Fill in the required and optional story fields:
- Title (Required) -- The title appears above the description on the website.
- Description (Required) -- A preview or summary of the story being added.
- Main Image (Required) -- Click Choose File next to the Main Image label to select the image that will appear on the public website.
- Story Type (Optional) -- When a story type is selected, viewers will see a "More" link next to the story description:
- Link -- Redirects viewers to a different website. Copy and paste the destination URL.
- Detail -- Displays additional text content. Type out the information viewers will see.
When finished, click Save.
Editing and Removing Stories
6
Edit or Delete an Existing Story
- Edit -- Follow Steps 1-3, then click Edit on the row of the story to be edited. Make your changes and click Save.
- Delete -- Follow Steps 1-3, then click Delete on the row of the story to be removed.
Important: Deleting a story permanently removes it from the website. Make sure you want to remove it before clicking Delete.