This tutorial explains how to build team rosters in Rank One Classic by selecting a school, sport, level, and team, then searching for and adding athletes.
Hold your cursor over the Athlete Management tab and select Manage Rosters from the drop-down menu.
Select the appropriate School, Sport, Level, and Team from the dropdown boxes. You must choose one from each box.
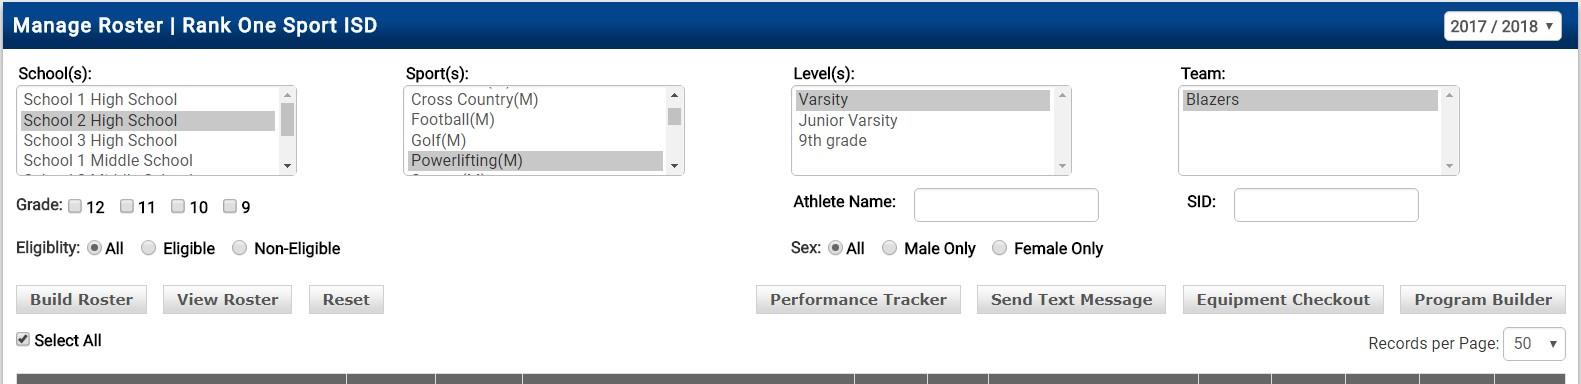
The Manage Roster page with selection dropdowns for School, Sport, Level, and Team.
Click on the Build Roster tab. This will display the first 50 students on the master list.
There are multiple ways to find students:
Once the student is displayed, place a check in the box under the Add to Roster column. The athlete will be added to the roster immediately.
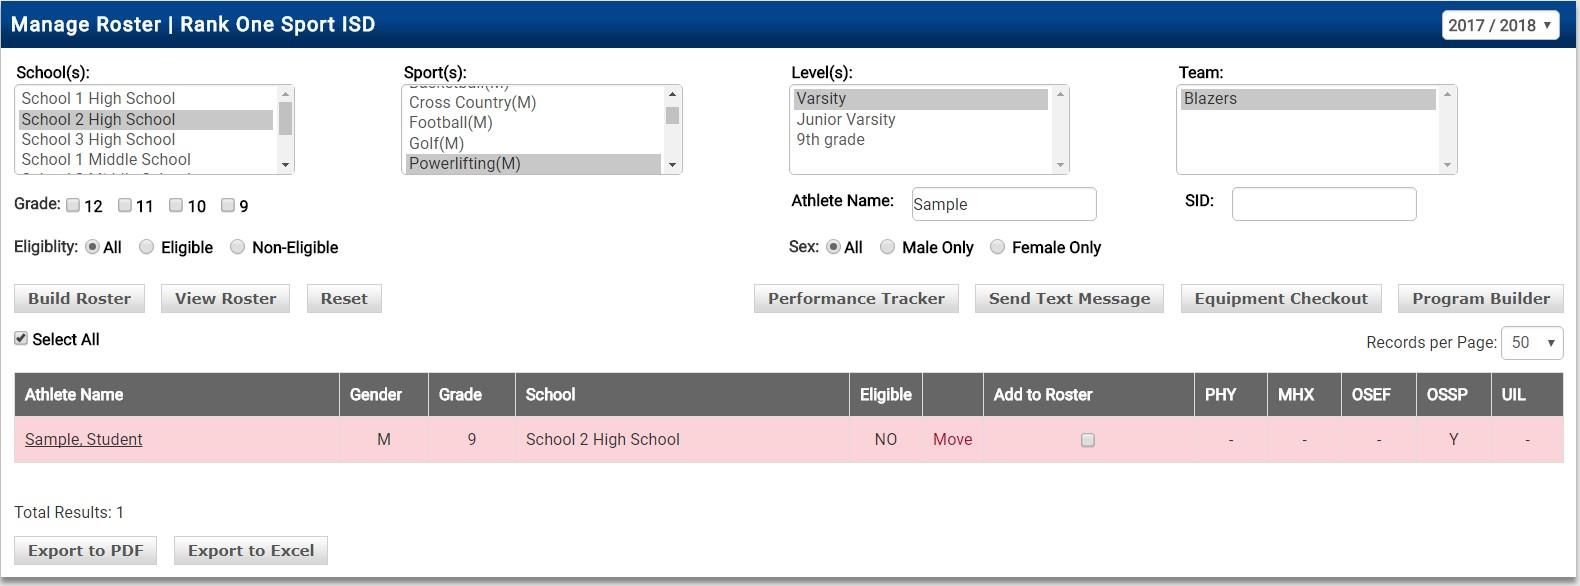
Search results showing a student with the Add to Roster checkbox.
Once you have added all students to the roster, click the View Roster tab to see the complete roster. Make sure you do not have a name in the Athlete Search box when viewing the full roster.
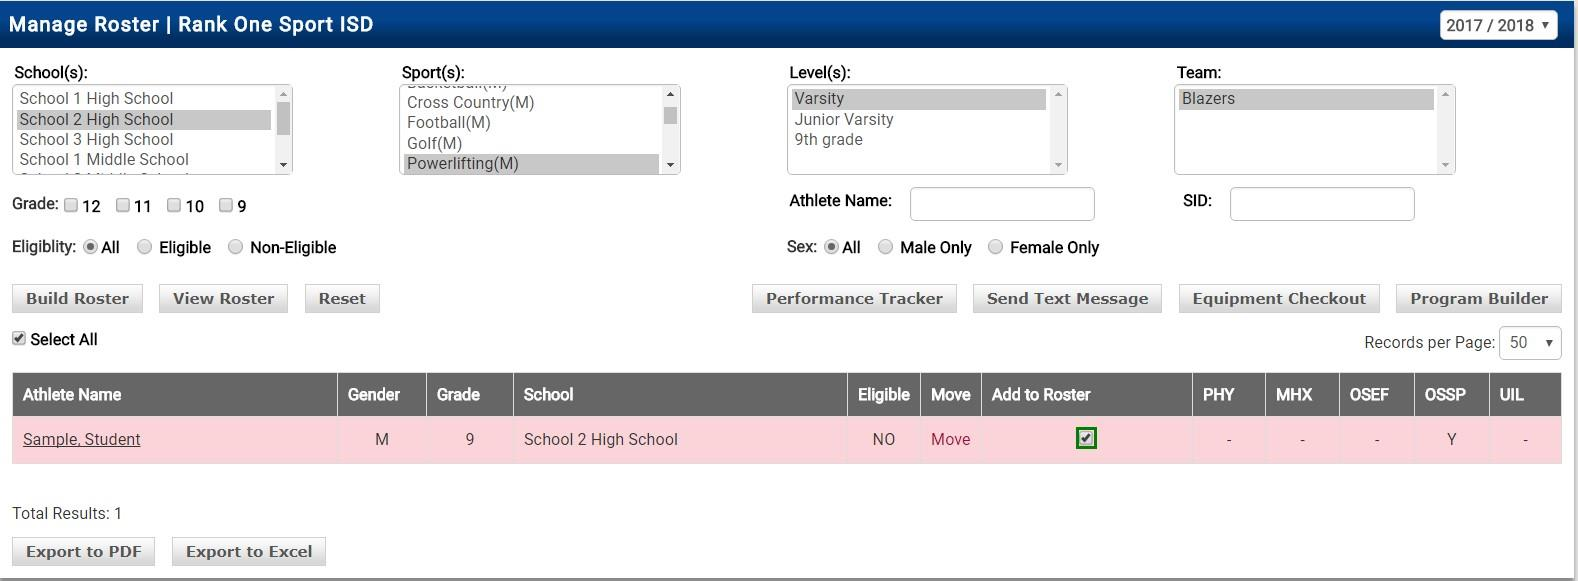
The View Roster tab displaying the athlete added to the roster with a checkmark.