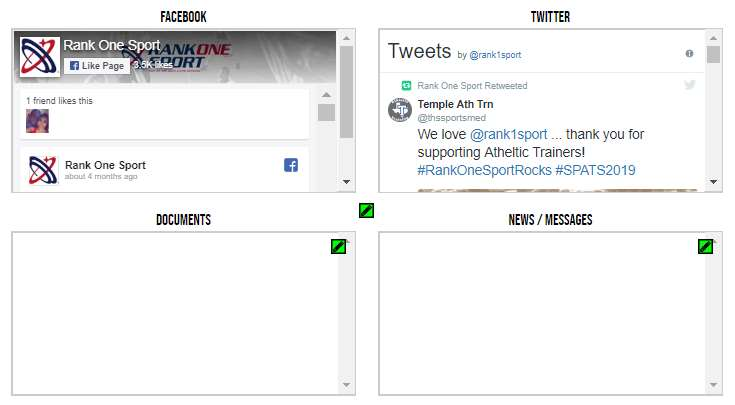
This tutorial explains how coaches can edit Social Media, Documents, and News/Messages on the Athletic Portal sport page. You can display up to 4 boxes on your sport page: Documents, News/Messages, Twitter, and Facebook.
Log into the Athletic Portal Control Panel using the same email address and password that you use to sign into Rank One.
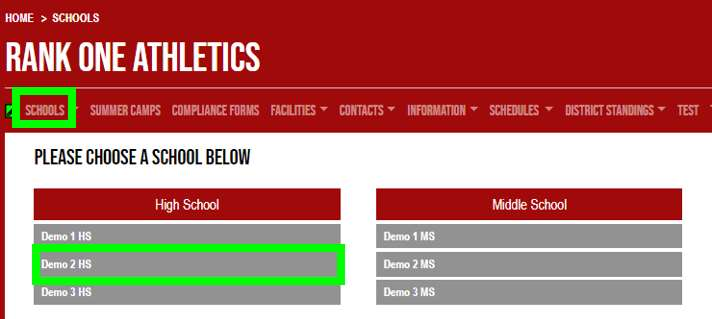
Click on the Schools tab in the top menu bar (it may be called "Campuses" in some accounts).
Select your school from the list.
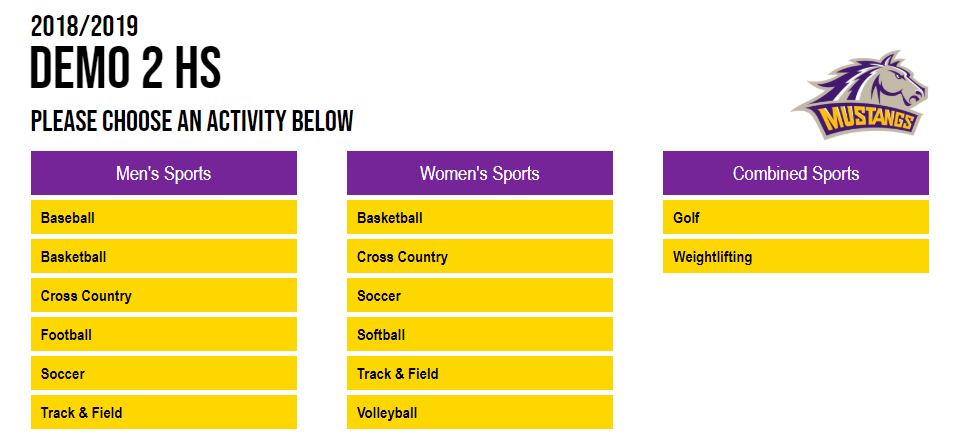
Select your Sport from the list. Make sure to select the correct gender associated with the sport (e.g., Women's Soccer).
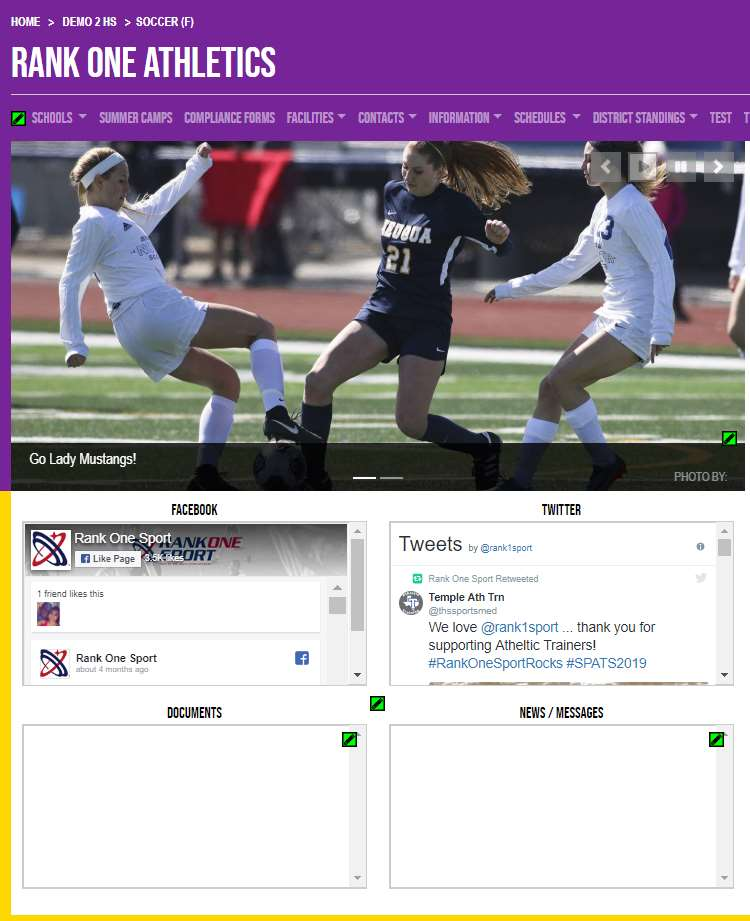
At the bottom of the page, you can display up to 4 boxes: Documents, News/Messages, Twitter, and Facebook. To add or remove these modules, select the Green Pencil icon in the middle of the page.
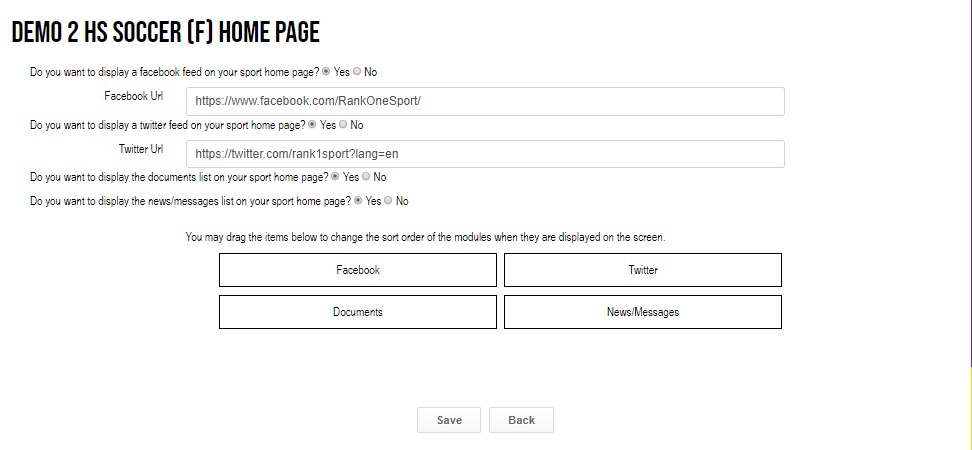
Select Yes next to the items you wish to display. Select No for items you do not want to display.
If selecting Yes for Facebook or Twitter, enter the full URL associated with your account.
To re-order how the boxes appear, drag the items to change the sort order of the modules. Click Save when finished.
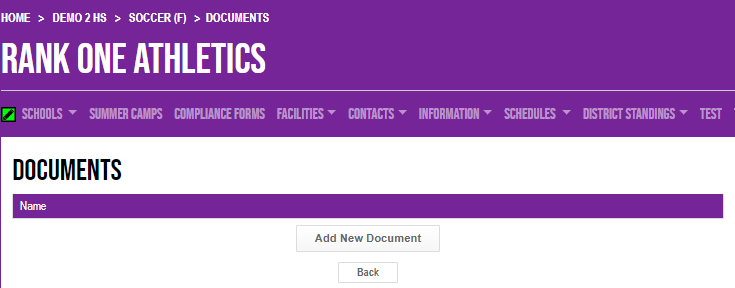
Go back to your Sport page and select the Green Pencil inside the Documents box. Then select "Add New Document".
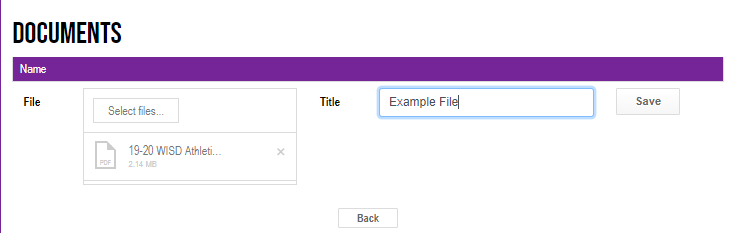
Click "Select File" to choose the document from your computer, enter a title for the document, and click Save.
Select the Green Pencil inside the News/Messages box, then select "Add News/Messages".
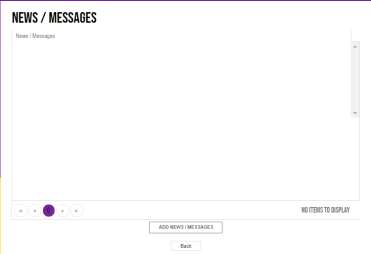
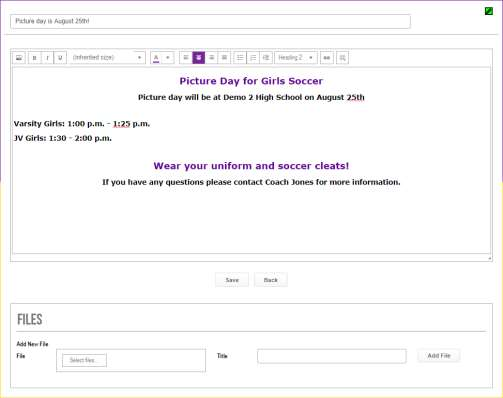
Enter a title for the News/Message and select Update.

After selecting Update, you may add additional details to the News/Message by entering text in the text box or attaching a file at the bottom of the page. Click Save when finished.