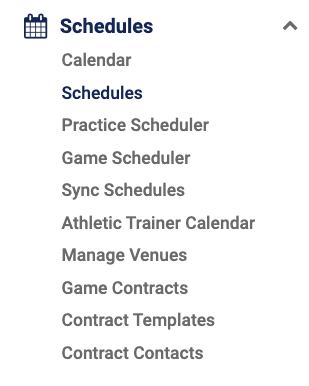
To add a new game schedule, hover your mouse over the Schedules tab and select "Game Scheduler" from the drop down menu.
Highlight your School, Sport, Level, and Team.

Enter your Advanced Settings. Advanced settings allow you to enter the Game Start Time, End Time, Default Home Venue, and Game Type for HOME games to make building your schedule faster. Click "Save Advanced Settings" before continuing.

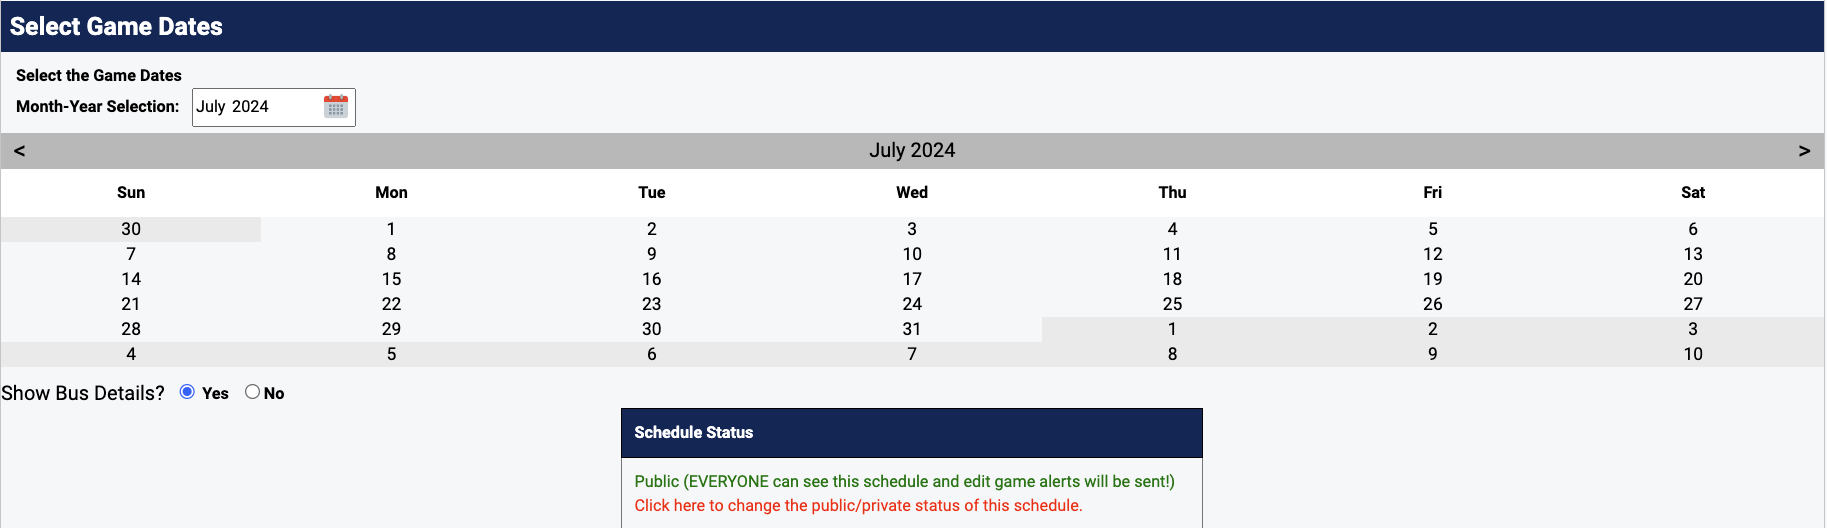
Select the Game Dates from the calendar. You can select the date multiple times if you have more than one game on the same date. The dates will populate below with your Advanced Settings.
To adjust the Start Time, highlight the existing data and make the appropriate changes. For example, type "0430" for 4:30. If you do not know the start time, check the TBA box. Click Tab on your keyboard — the End Time will automatically default to one hour after the Start Time.
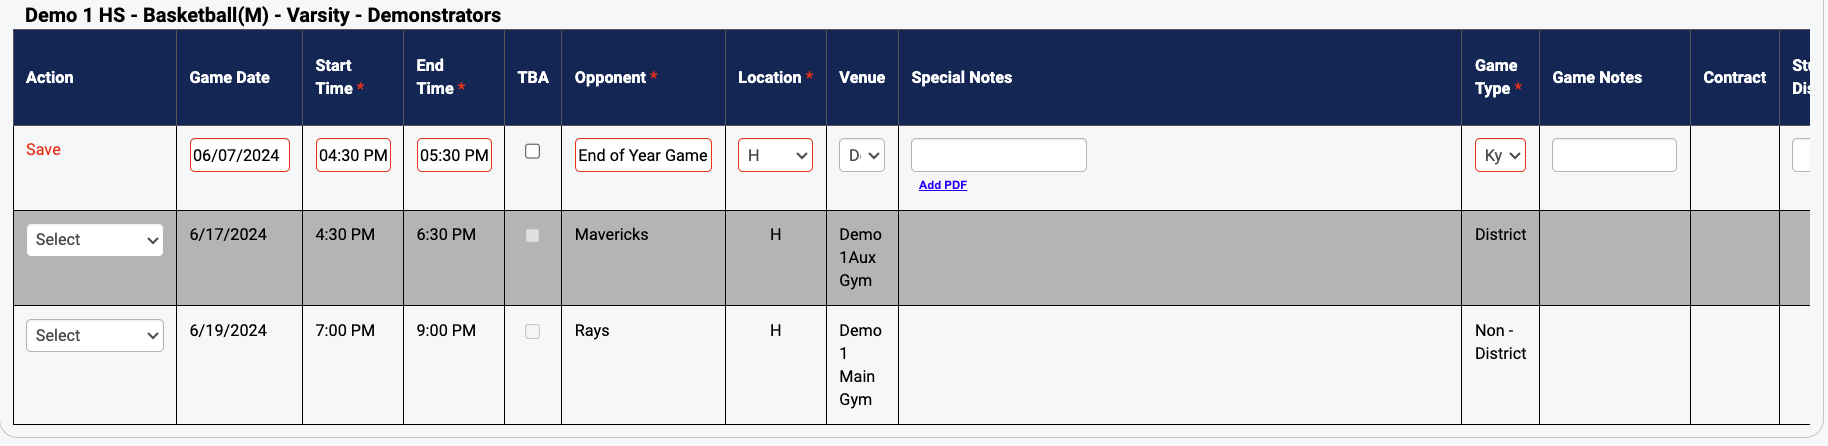
Type your opponent in the opponent field. For tournaments or track meets, type in the Tournament or Meet name (e.g., Coca-Cola Classic, Mustang Relays). If you need to change Location to Away, select "A" or "H" for Home. If the venue you need is not in the drop down, select the "--/--" symbol at the top. Special Notes are for details such as Homecoming, Senior Night (these appear in Red on the schedule). Game Notes appear internally only.

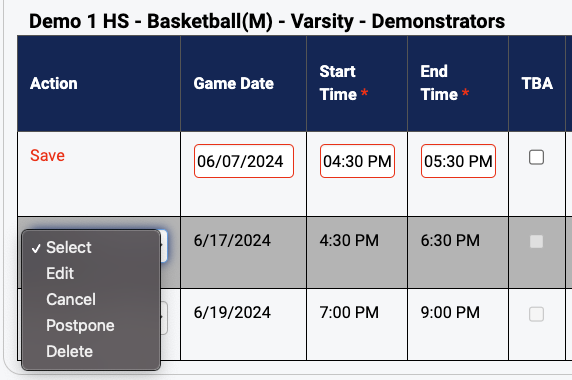
To save games to the schedule, select "Save New Schedules to Calendar." Games you have NOT saved will remain listed until all required fields have been entered. To delete a game, select the "action" dropdown and mark it as deleted. To edit game details, select "Edit," make changes, and select "Save." To view your schedule, hover over the Schedules Tab and select Schedules.