This tutorial explains how to add and manage menu items on your Athletic Web Portal. Menu items allow you to customize the navigation of your portal with contacts, custom pages, links, and more.
Log in to the Control Panel for your athletic website with your Rank One username and password.
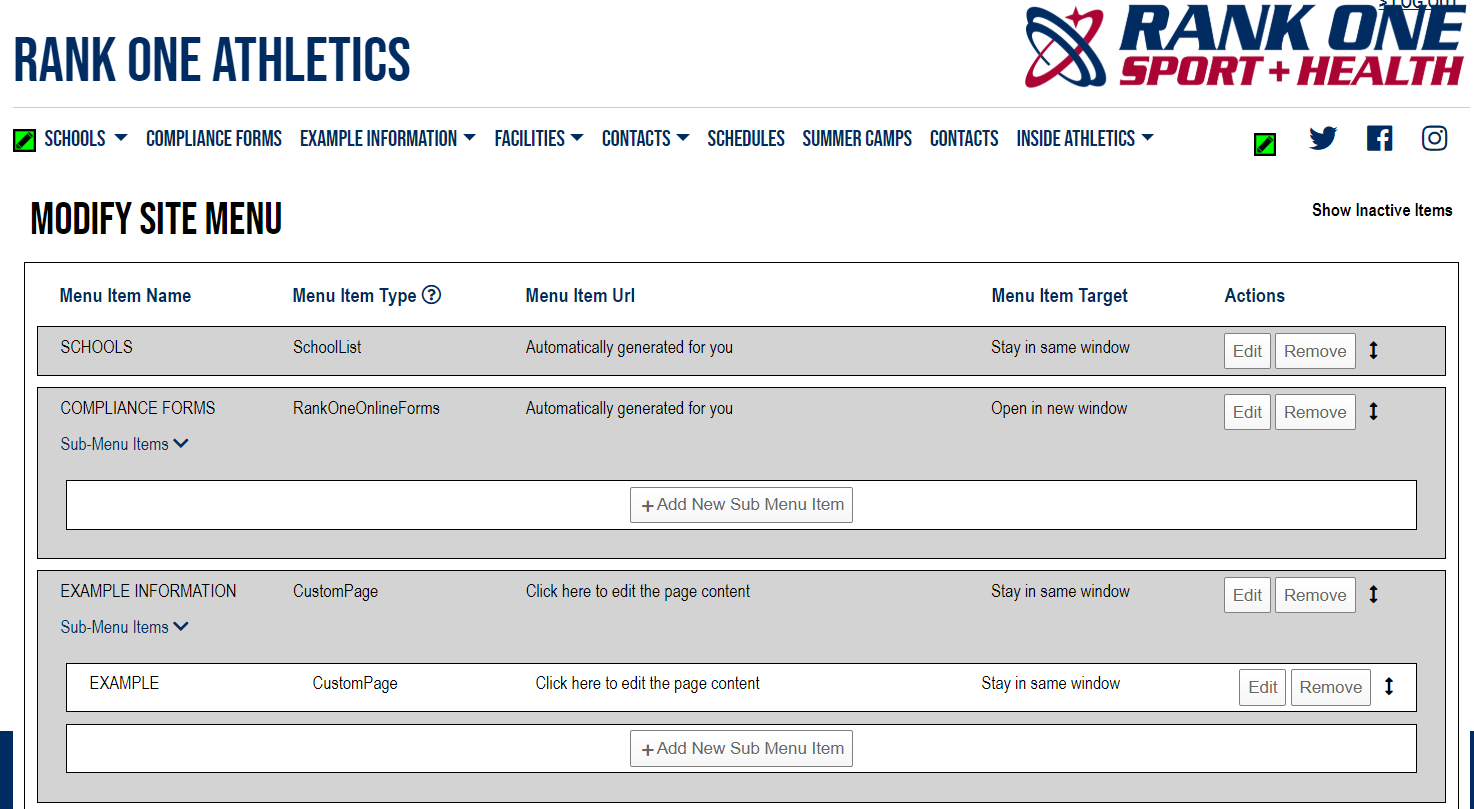
Click the Green Pencil icon in the top left corner of the screen to Add/Edit a Menu Item.
Click + Add New Menu Item.
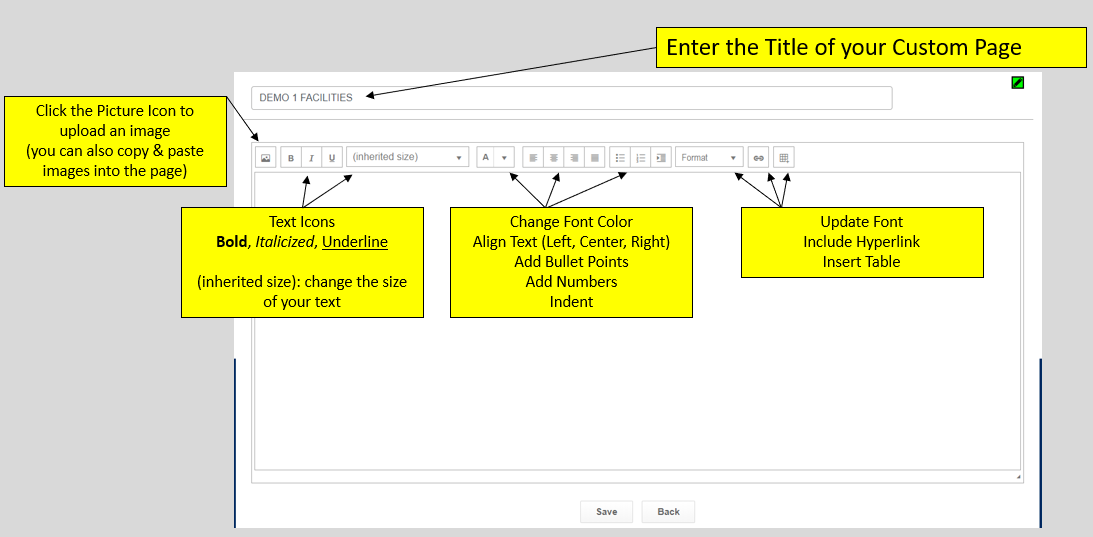
Enter the Menu Item Name and select the Menu Item Type. Certain types will generate information automatically from your district's Rank One account, while others allow you to create custom pages.

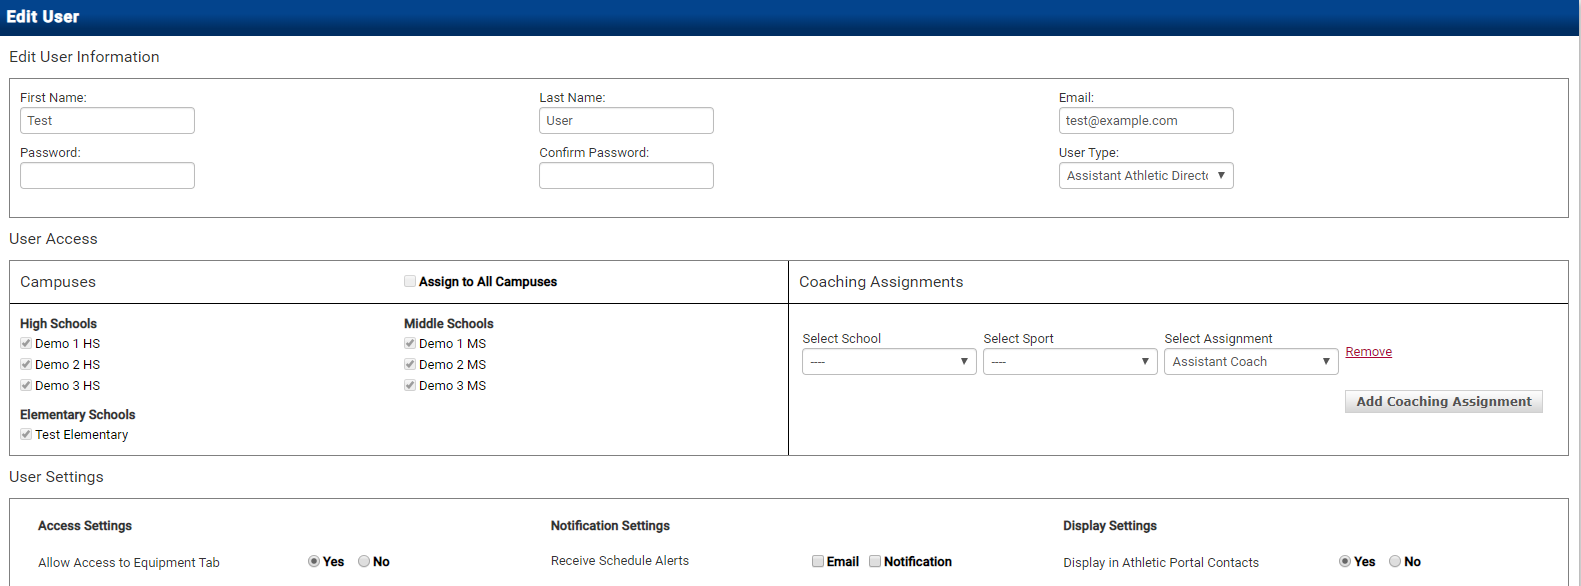
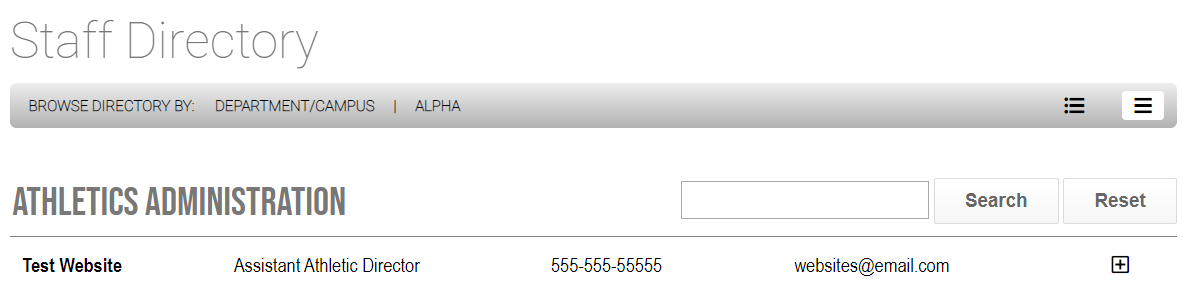
Automatically populates all users' names, email addresses, office phone numbers, and user types from your Rank One account.
A custom page allows you to build your own webpage. You can enter custom text, pictures, hyperlinks, and files.
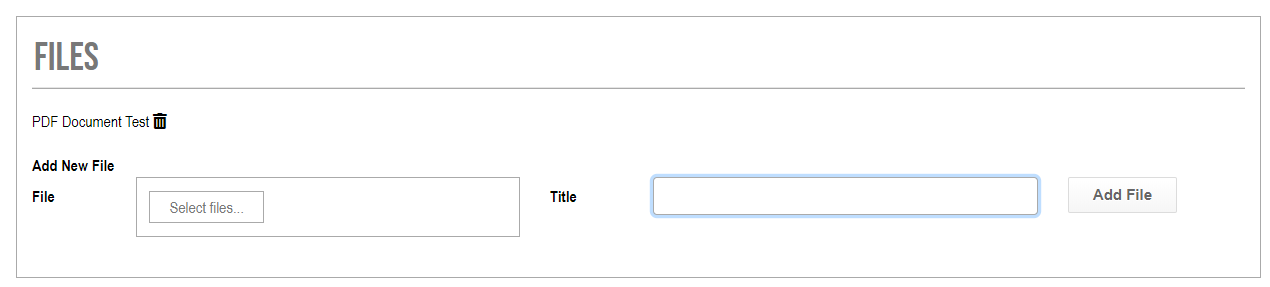
To add a file, click on "Select files...", choose the document you would like to add, enter the File Title, and click Add File.
The Link menu item type allows you to direct viewers to another website. Copy and paste the website URL in the link box.
Click Save.
If your district is utilizing the Camp Software inside Rank One, the Registration Page will automatically link to your web portal.
This will automatically link your Electronic Forms site to your web portal for parents and students to access and complete their online paperwork.
This will automatically link all schools inside your district's Rank One account to your Athletic Web Portal.
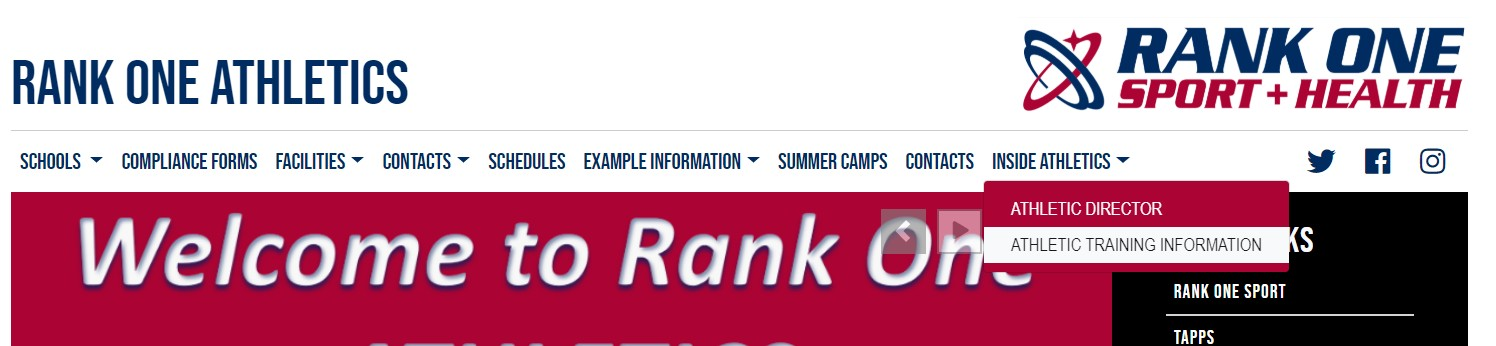
This creates a static menu title; nothing will happen if a user clicks on it. Top Menu Items are used when you want to add Sub Menu Items underneath as a dropdown list.
After saving the Menu Item, you will have the option to add a Sub Menu (a new tab underneath the Menu Item). Click + Add New Sub Menu Item and enter the Name, Menu Item Type, and click Save.
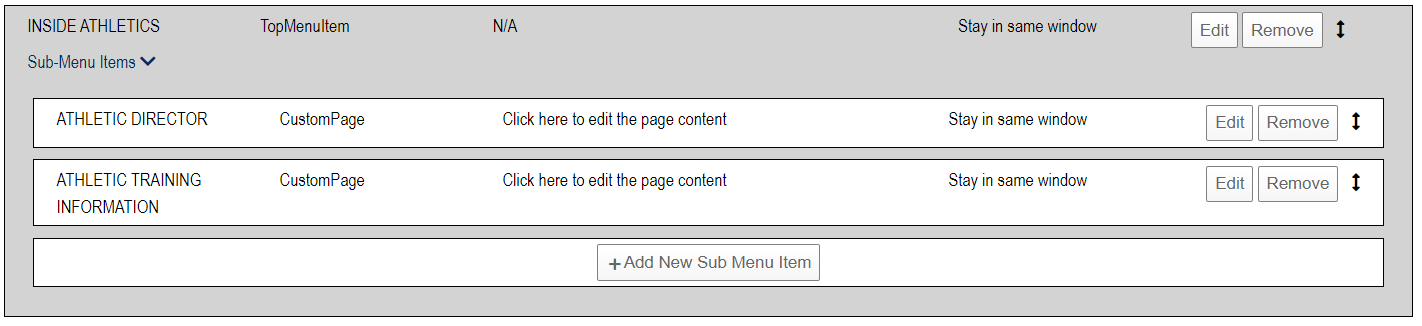
To Edit or Delete a Menu Item, click Edit or Remove next to the item you wish to modify.
To Re-Order the Menu Items, click and drag the Arrow icon to re-order the Menu Items and Sub Menu Items.
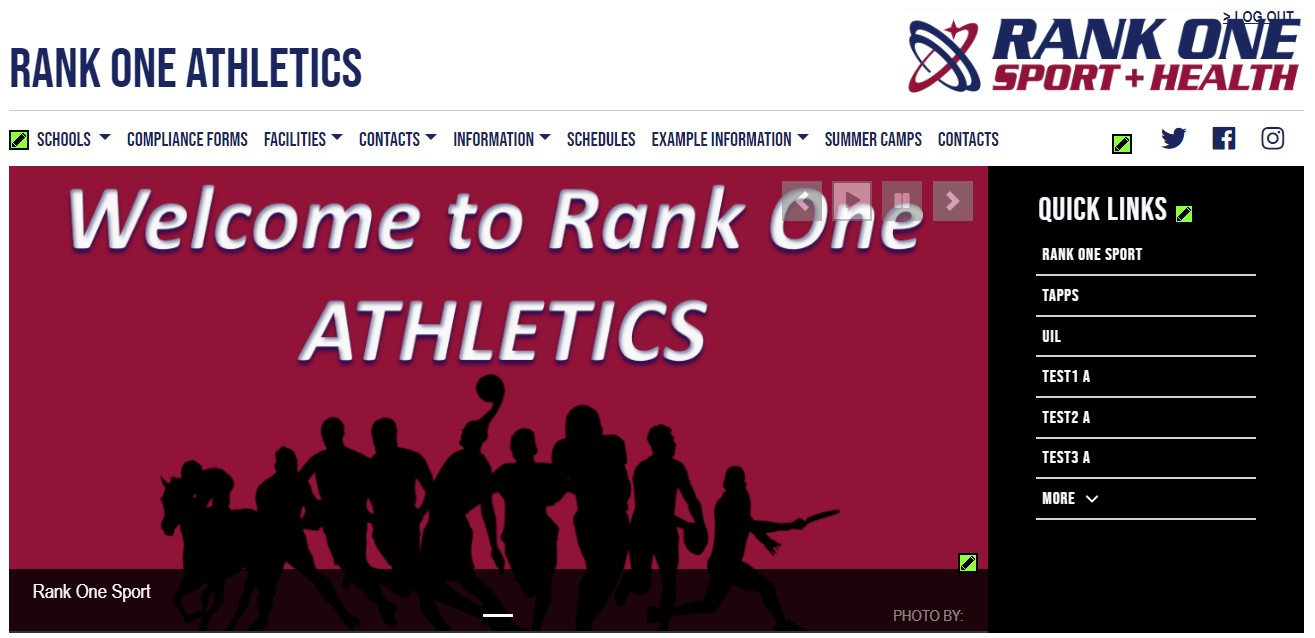
Refresh your internet browser to see the updates take place.