When a schedule is in "Private" mode, only district employees can see the schedule when logged inside the software. To allow the public access to the schedules, you need to change the schedule status to "Public."
To change the status from Private to Public (or Public to Private), hold your cursor over the Schedules tab and select Schedules. Select the School, Sport, Level, and Team, then click "Show."
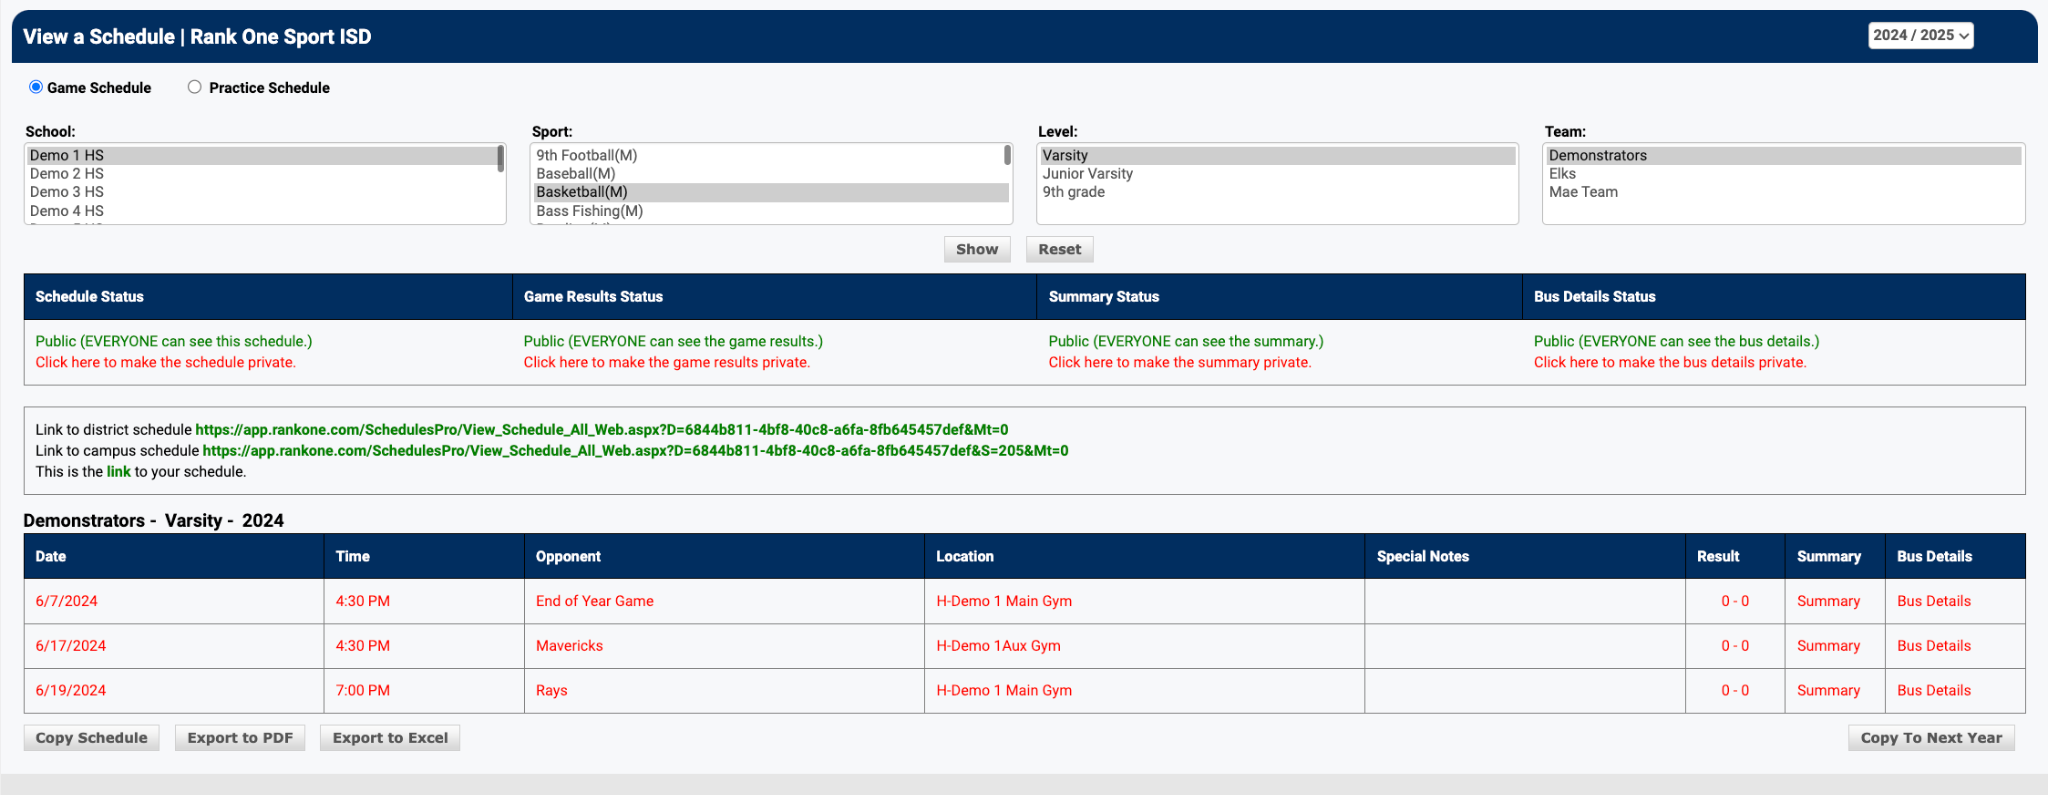
To make the schedule Public or Private, click "here."

Once you make the schedule Public or Private, you will have the option to make the Game Results, Summary Status, and Bus Details Public or Private as well.
To see the Public Schedule, click one of the three links provided.
