This tutorial explains how to manually upload documents to an athlete's profile in Rank One Classic. There are two upload options:
Hold your cursor over the Athlete Management tab and select Master List from the drop-down menu.
Search for the athlete and click on their name. Their profile will populate.
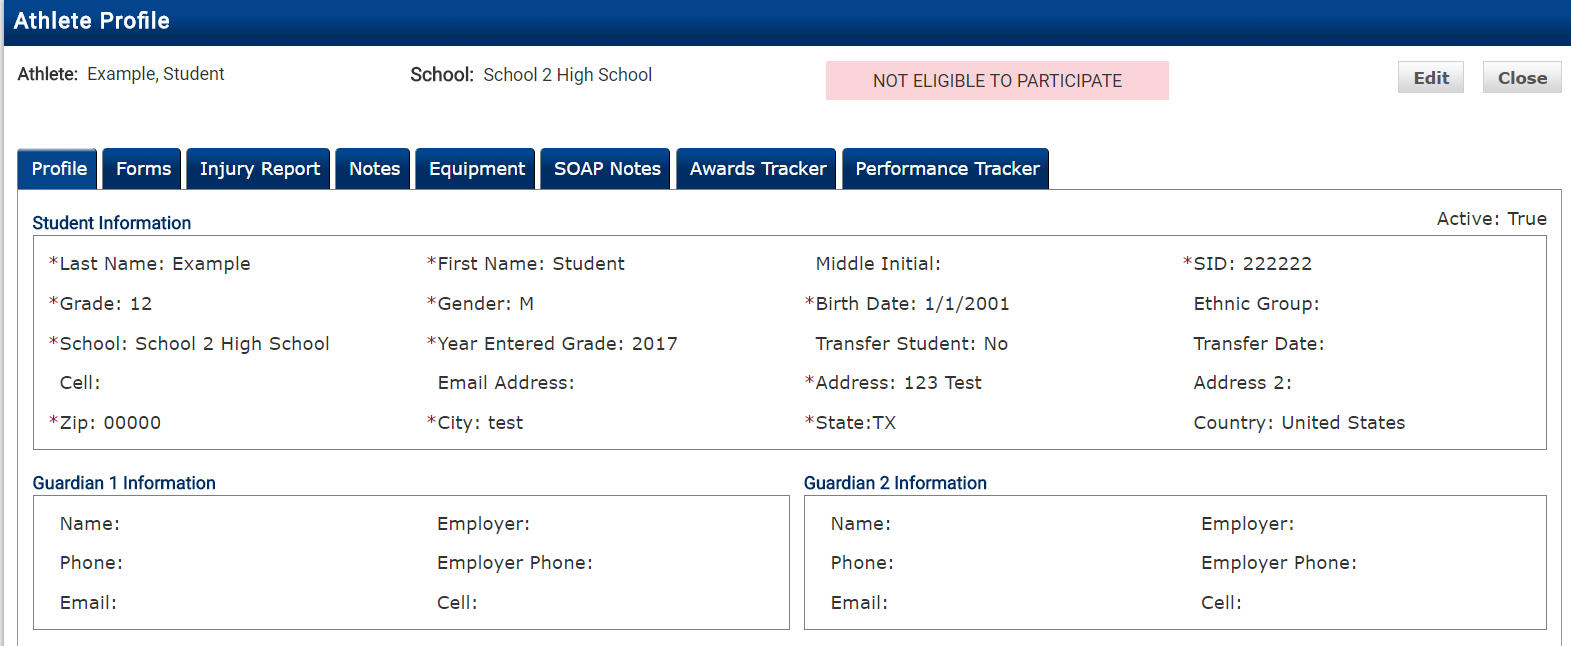
The Athlete Profile page with tabs for Profile, Forms, Injury Report, Notes, Equipment, and more.
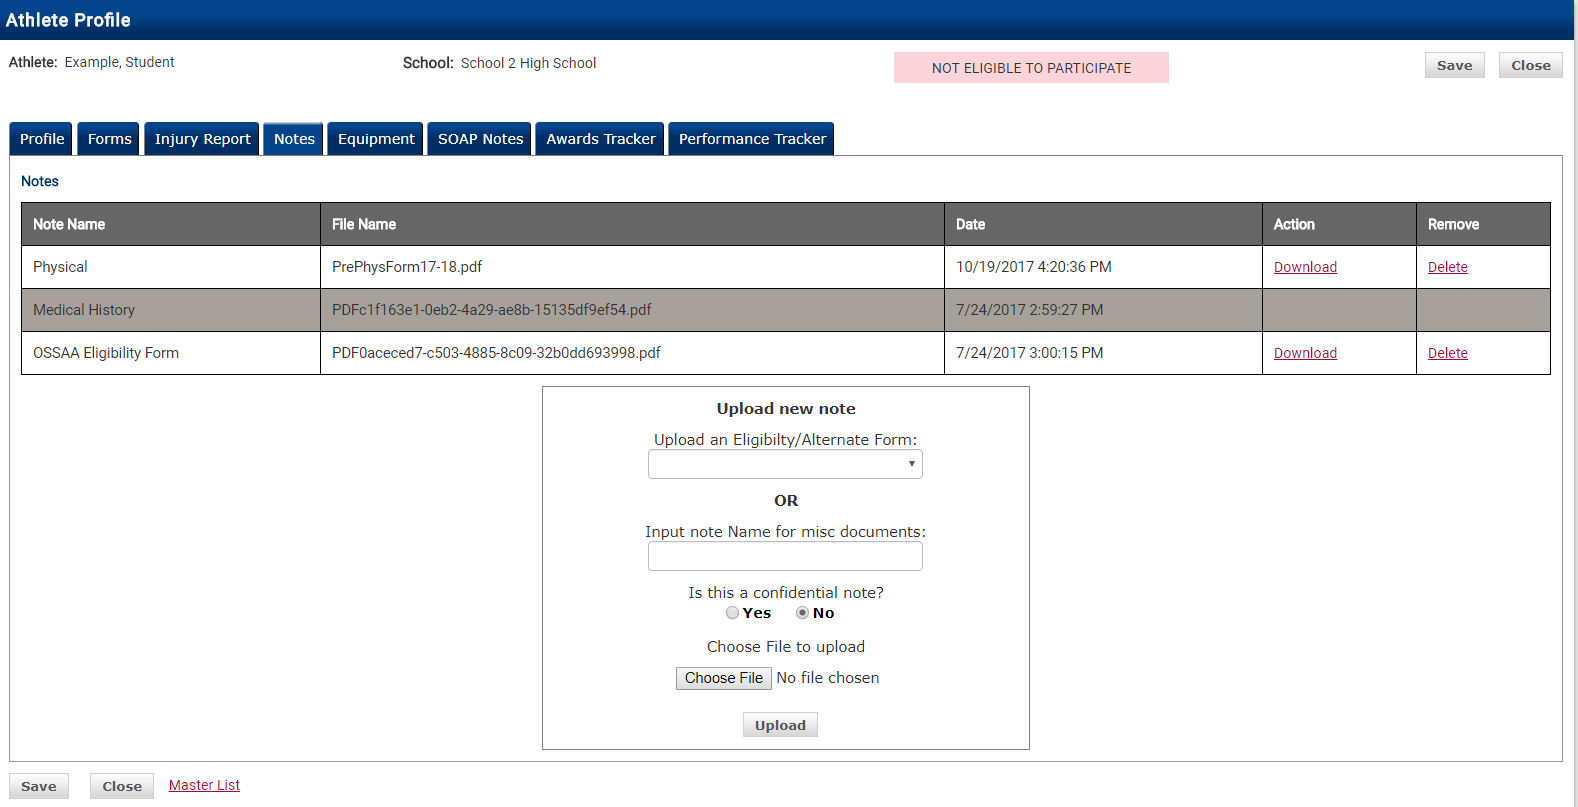
Click on the Notes tab within the athlete's profile.
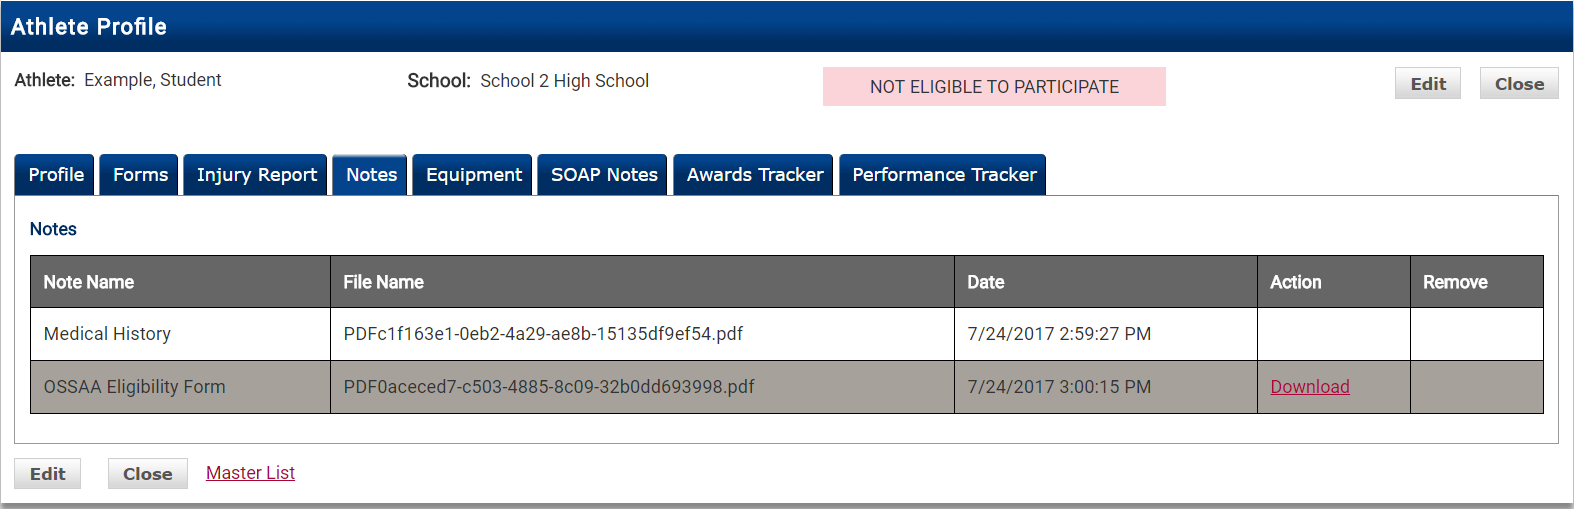
The Notes tab displaying previously uploaded documents.
Click the Edit button to open the upload dialog.
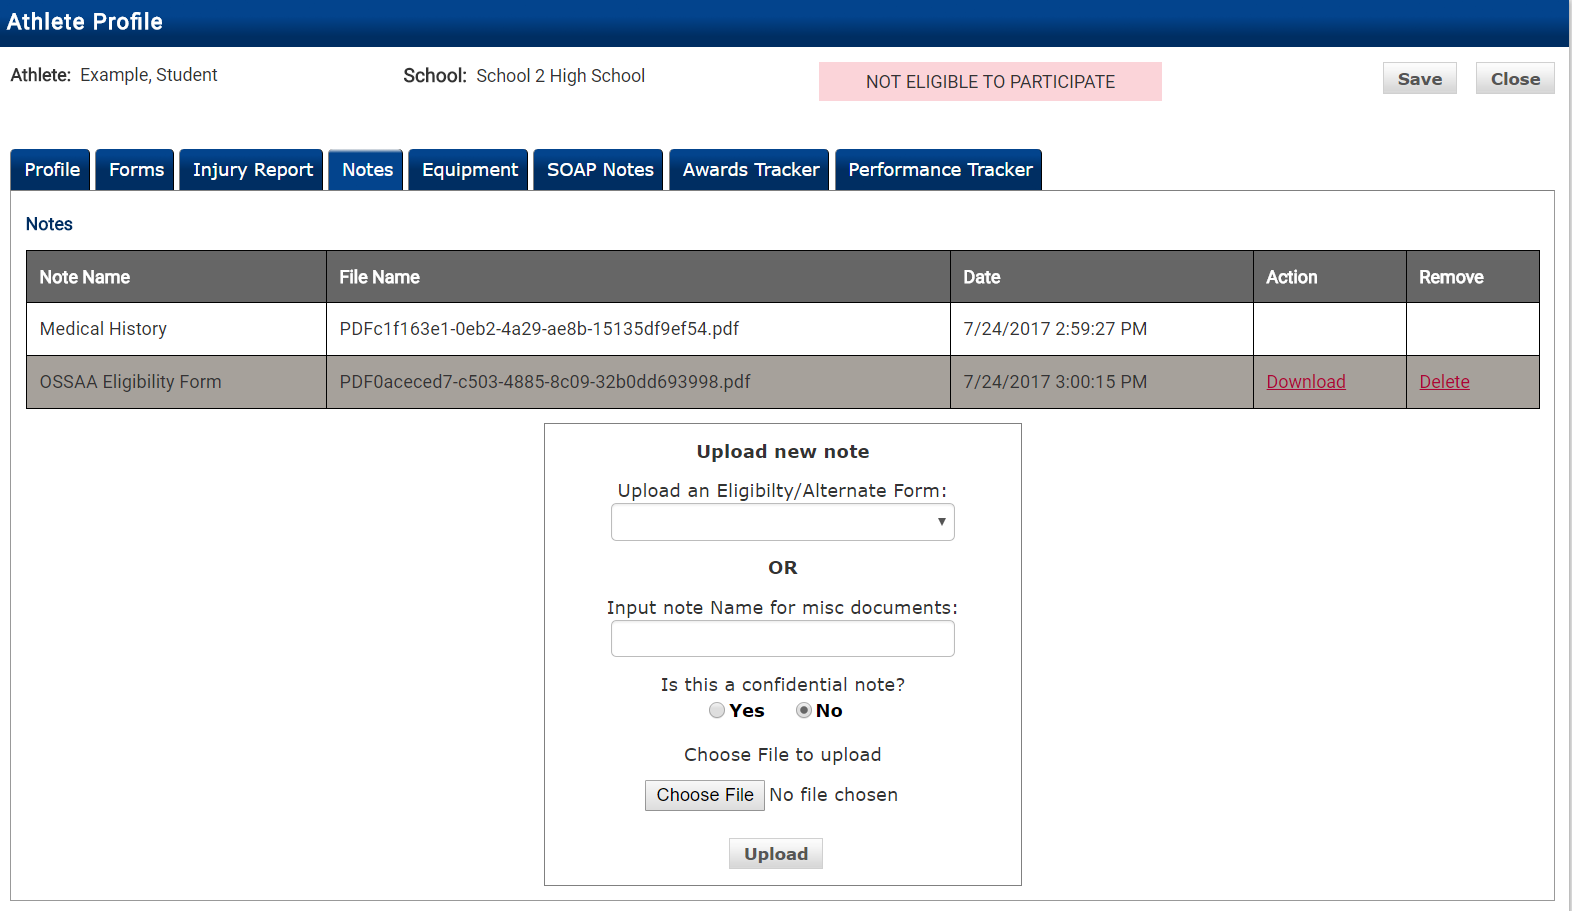
The Upload New Note dialog with options to select an Eligibility/Alternate Form or input a miscellaneous document name.
To upload an eligibility or alternate form, select the form you are uploading from the Upload an Eligibility/Alternate Form drop-down list. The form you select will be checked off in the athlete's Forms tab.
For example, to upload a physical, select Physical from the drop-down list.
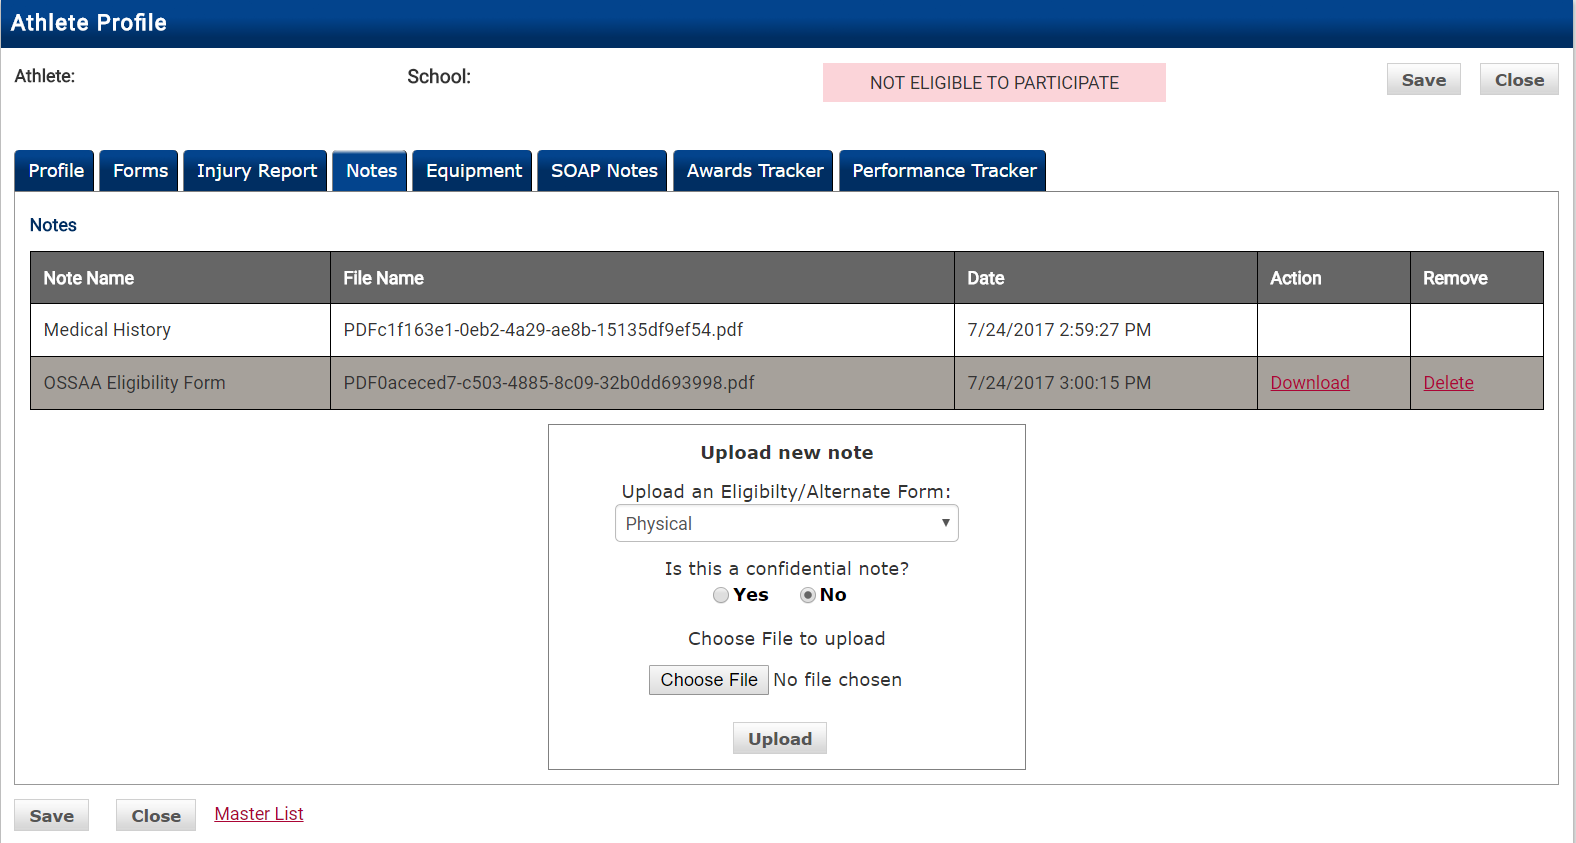
Selecting "Physical" from the Eligibility/Alternate Form dropdown.
Click Choose File, select the file from your documents, then click Upload.
The uploaded form now appears in the Notes section.
The form will appear in the student's Notes section. Click Save to finalize the upload.
After saving, the form will show Yes in the student's Forms tab, confirming the upload was successful.
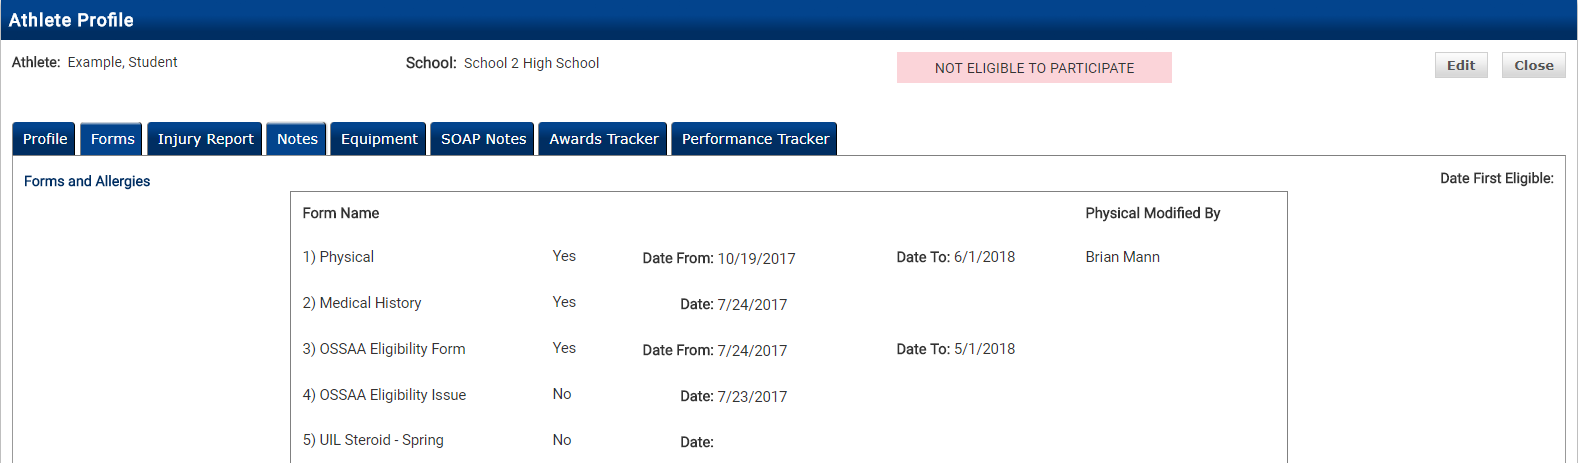
The Forms tab confirming the Physical form has been uploaded and marked as complete.
To upload a miscellaneous document (such as a doctor's note), type in the document name in the Input note Name for misc documents field instead of selecting from the Eligibility/Alternate Form dropdown.
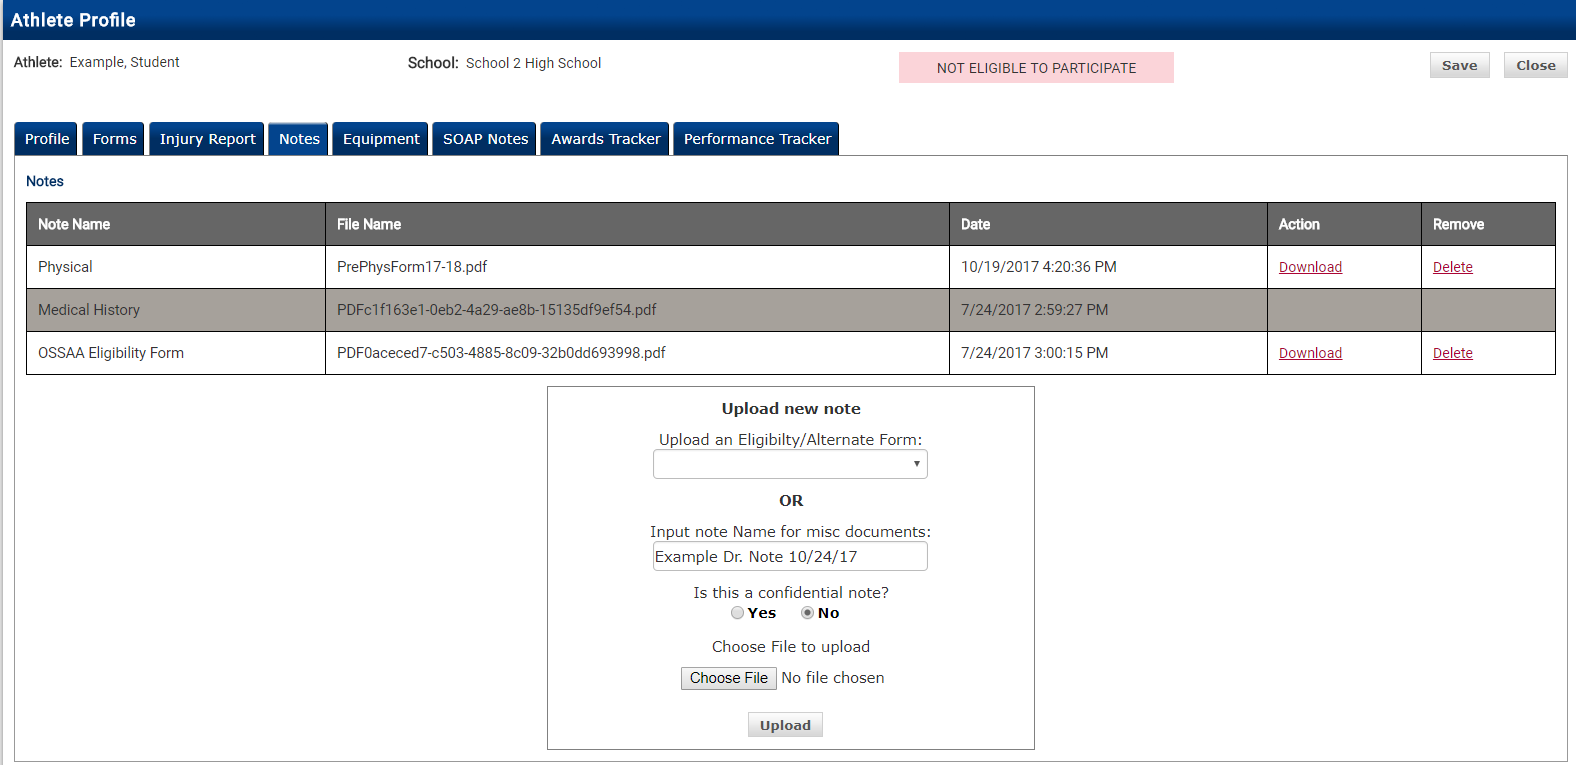
Entering a custom document name for a miscellaneous upload.
Click Choose File, select the file from your documents, click Upload, and then click Save to finalize.
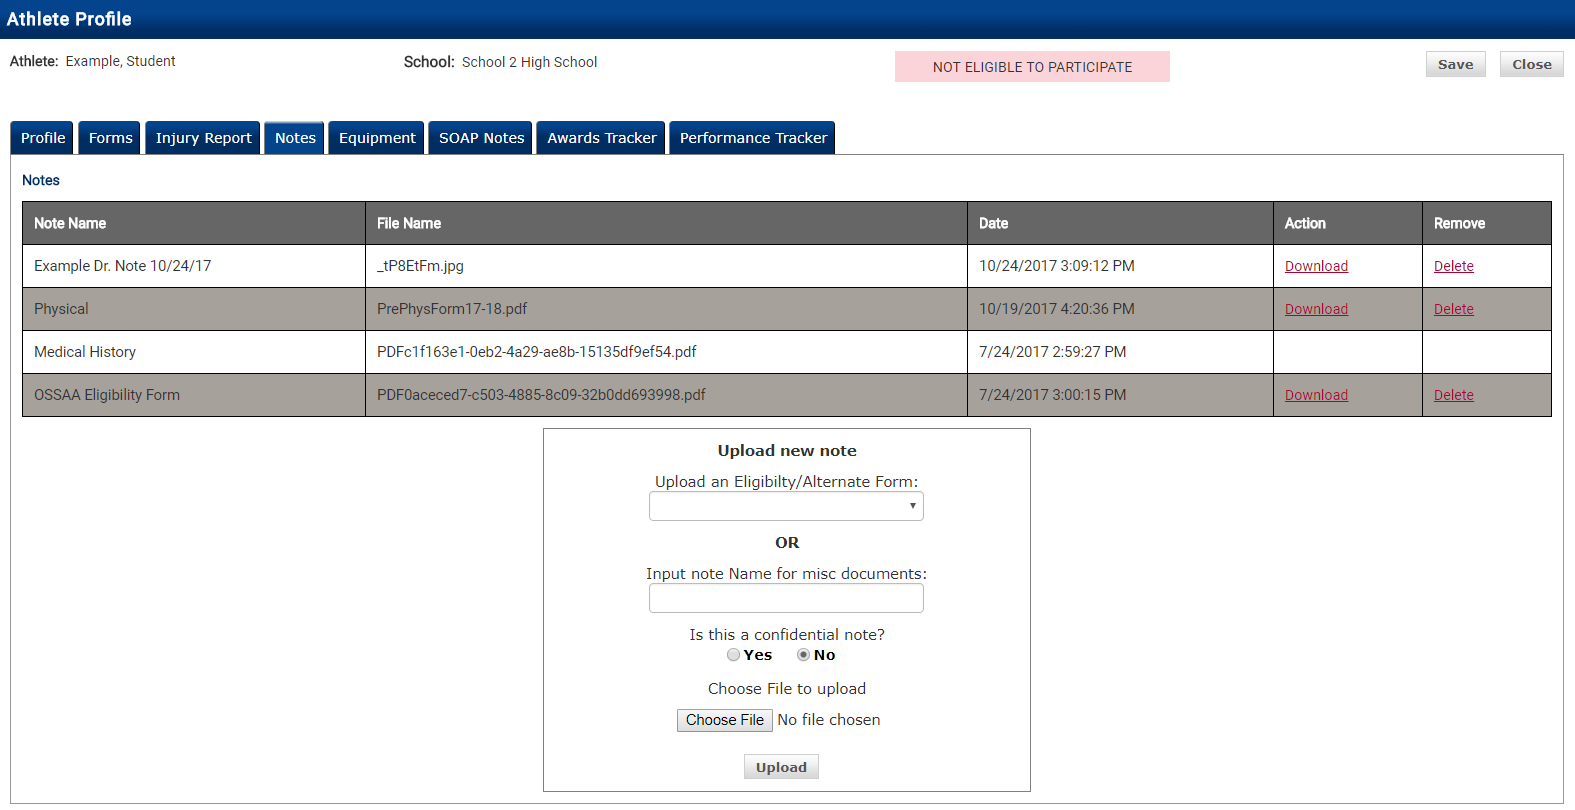
The miscellaneous document now appears in the Notes section alongside other uploaded forms.