Non-Game Events can be added by going to the Advanced Calendar section located under the Schedules tab.
From the Advanced Calendar page, click on the "Add Event" button. To schedule a Non-Game Activity, click on the "Enter a non-game activity" tab at the top of the page.

Non-Game Activities are organized by Categories. The Modify Categories tab is available for all users with administrative access. The Modify Categories tab can be found when entering a Non-Game Event or using the Non-Game Event filter button.
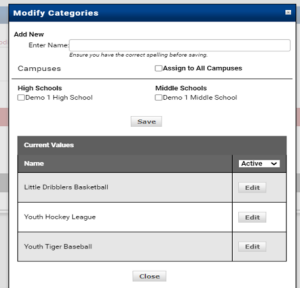
To add a new Category to the list, type the category name in the box, assign it to at least one campus, and click "Save."

If the Category has already been entered by another campus administrator, you can add it to your campus by clicking the "Edit" button. Check the box for your campus and click "Save." The category will be added to the selected campus.
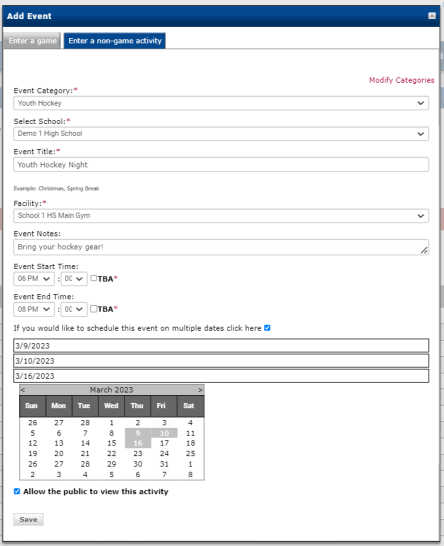
Click on the "Enter a non-game activity" box. Select a Category, School, enter a description or title, choose the facility, and optionally add event notes. Enter a start and end time.

The non-game event can be scheduled for multiple days at once by checking the box and selecting the dates from the calendar. If you do not want the non-game event to show up on the public calendar, uncheck the box.
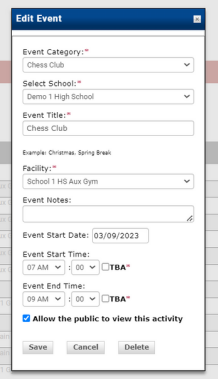
Once there are Non-Game events added to the calendar, you can view and edit from the Non-Game events mode. To edit or delete a Non-Game event, click on the event Date/Time, make the desired changes, and save.