 Rank One Pro
Rank One Pro
Rank One Pro
Log into Rank One as a school administrator or designated eligibility personnel. Navigate to Student Management and select Incoming Transfers. You can also access this through the Incoming PAPF widget on your dashboard.
The page will display all submitted PAPF forms sorted by date, with the newest submissions appearing at the top. Look for forms marked with a "New" banner to identify submissions that have not yet been reviewed.
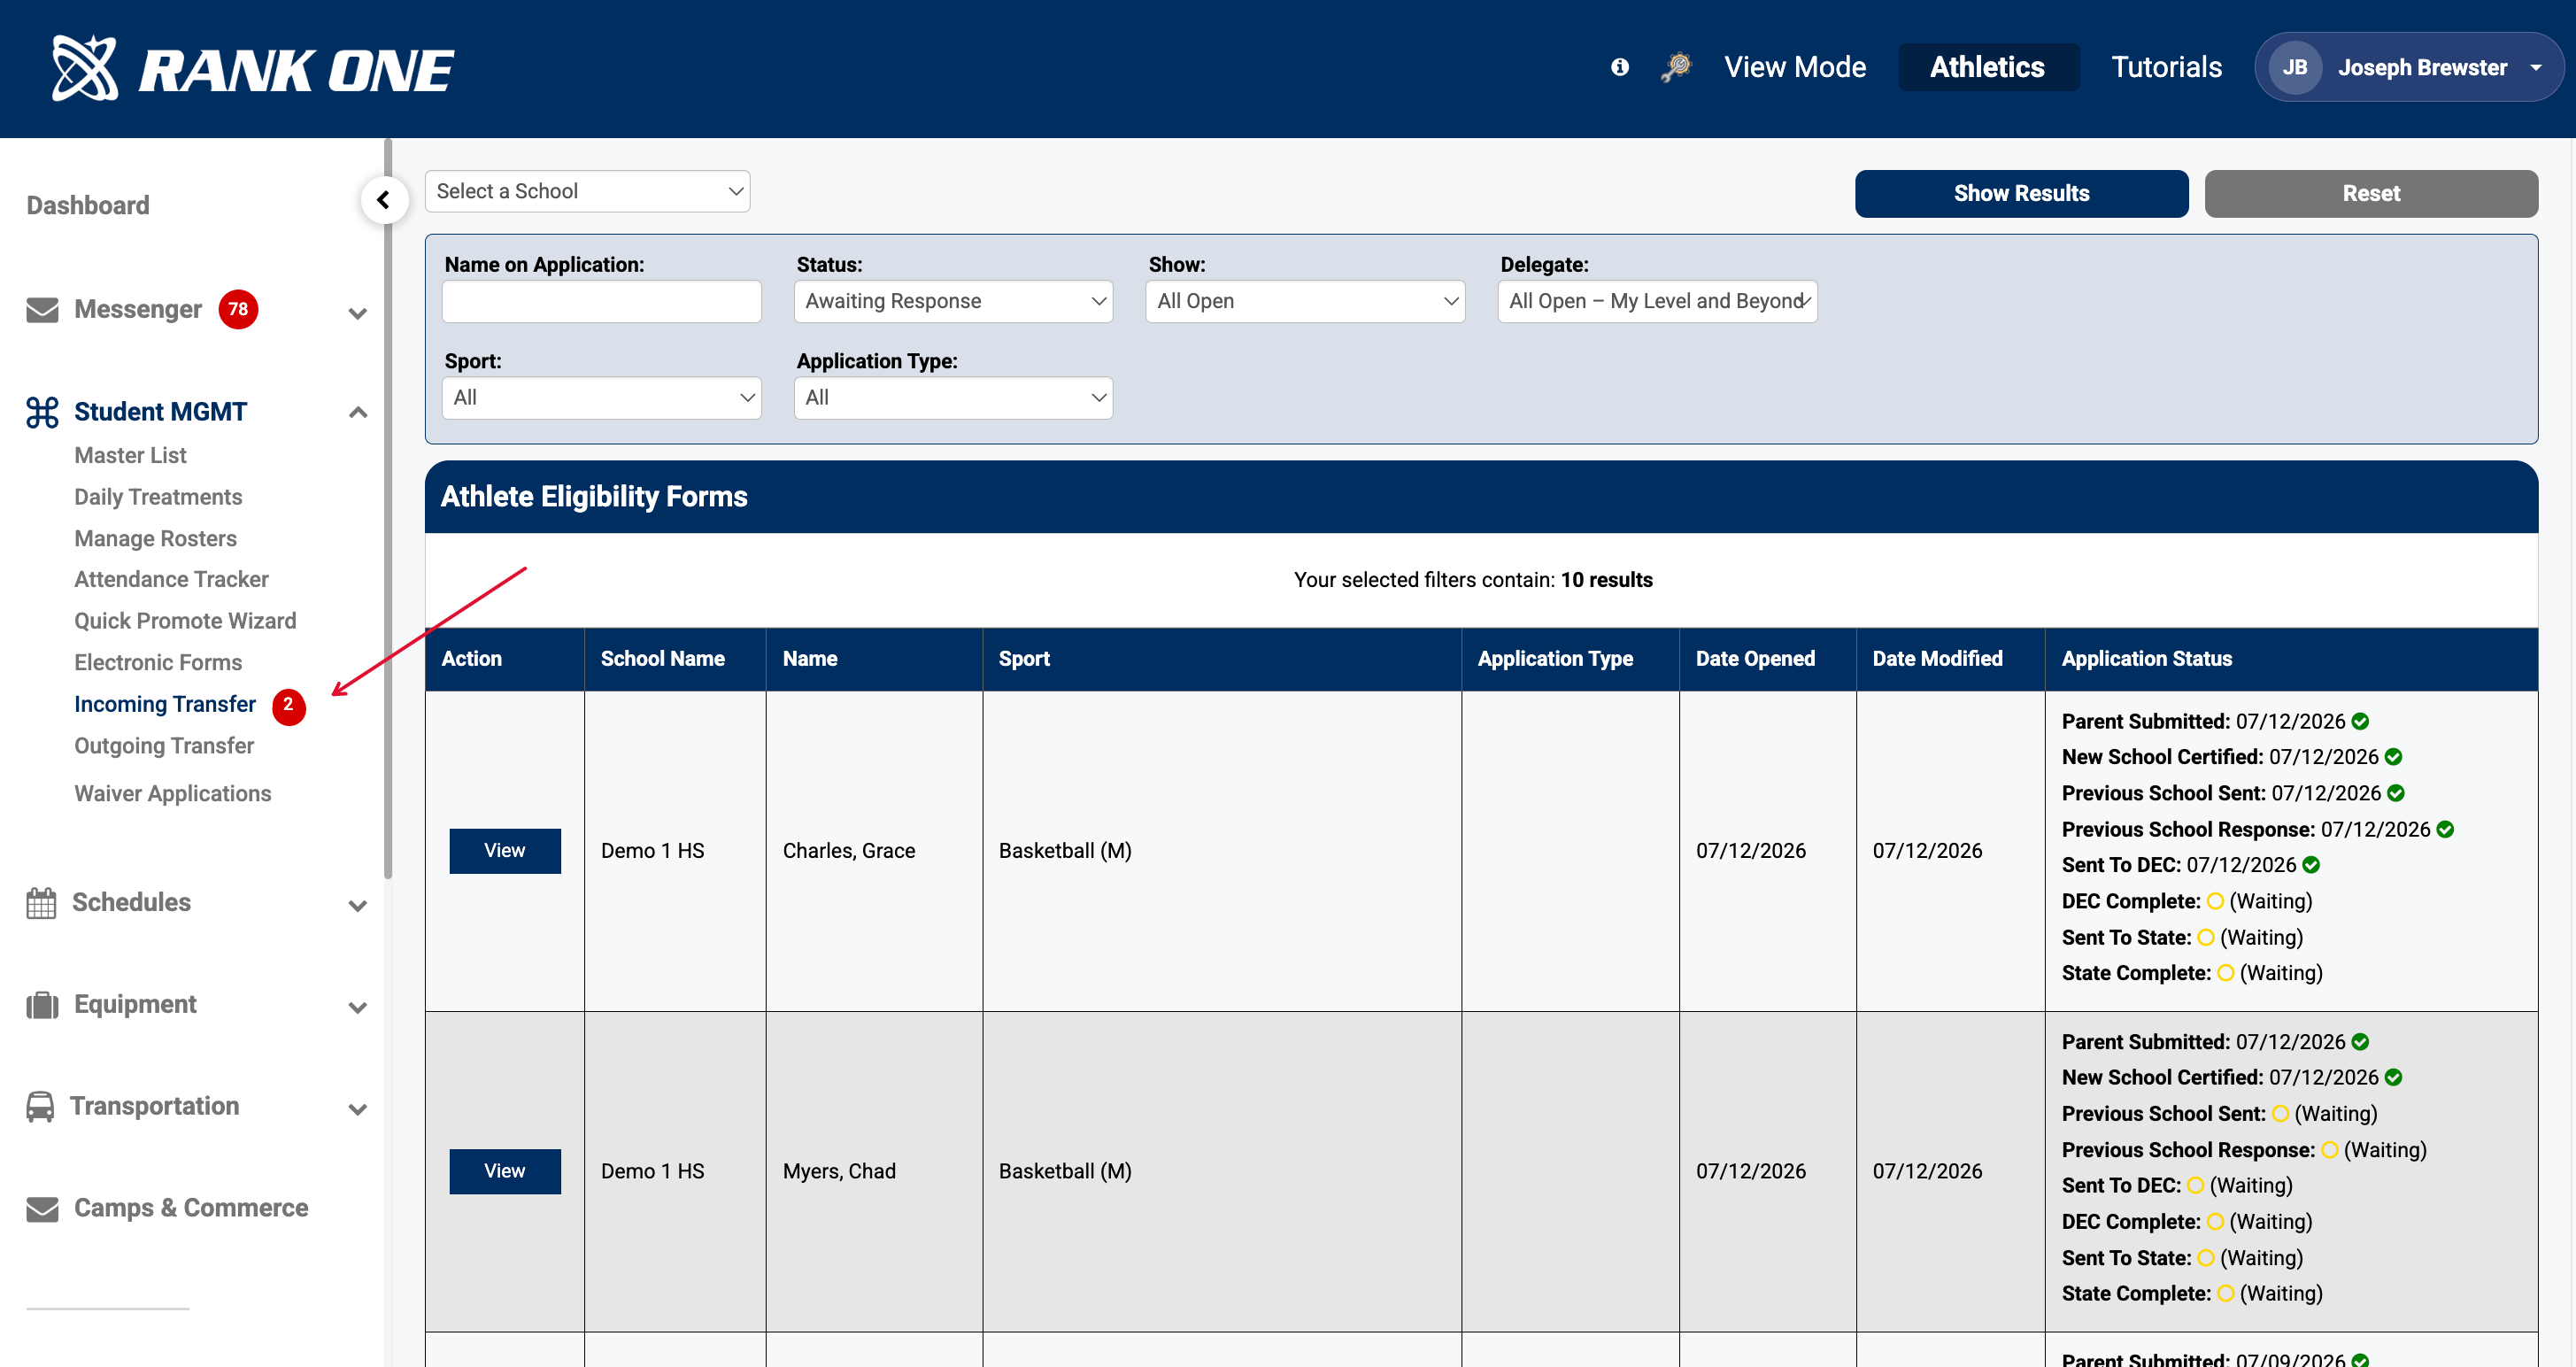
Click View to open the complete PAPF form for the student you need to review. This will display all forms submitted by the parent, including their answers to the prescreening question and any additional information they provided.
To review the parent's specific answers, click Review Answers on the right side of the form. A window will open showing the parent's responses. Pay attention to any flags displayed next to certain answers—these highlight questions that may require further review for eligibility purposes.
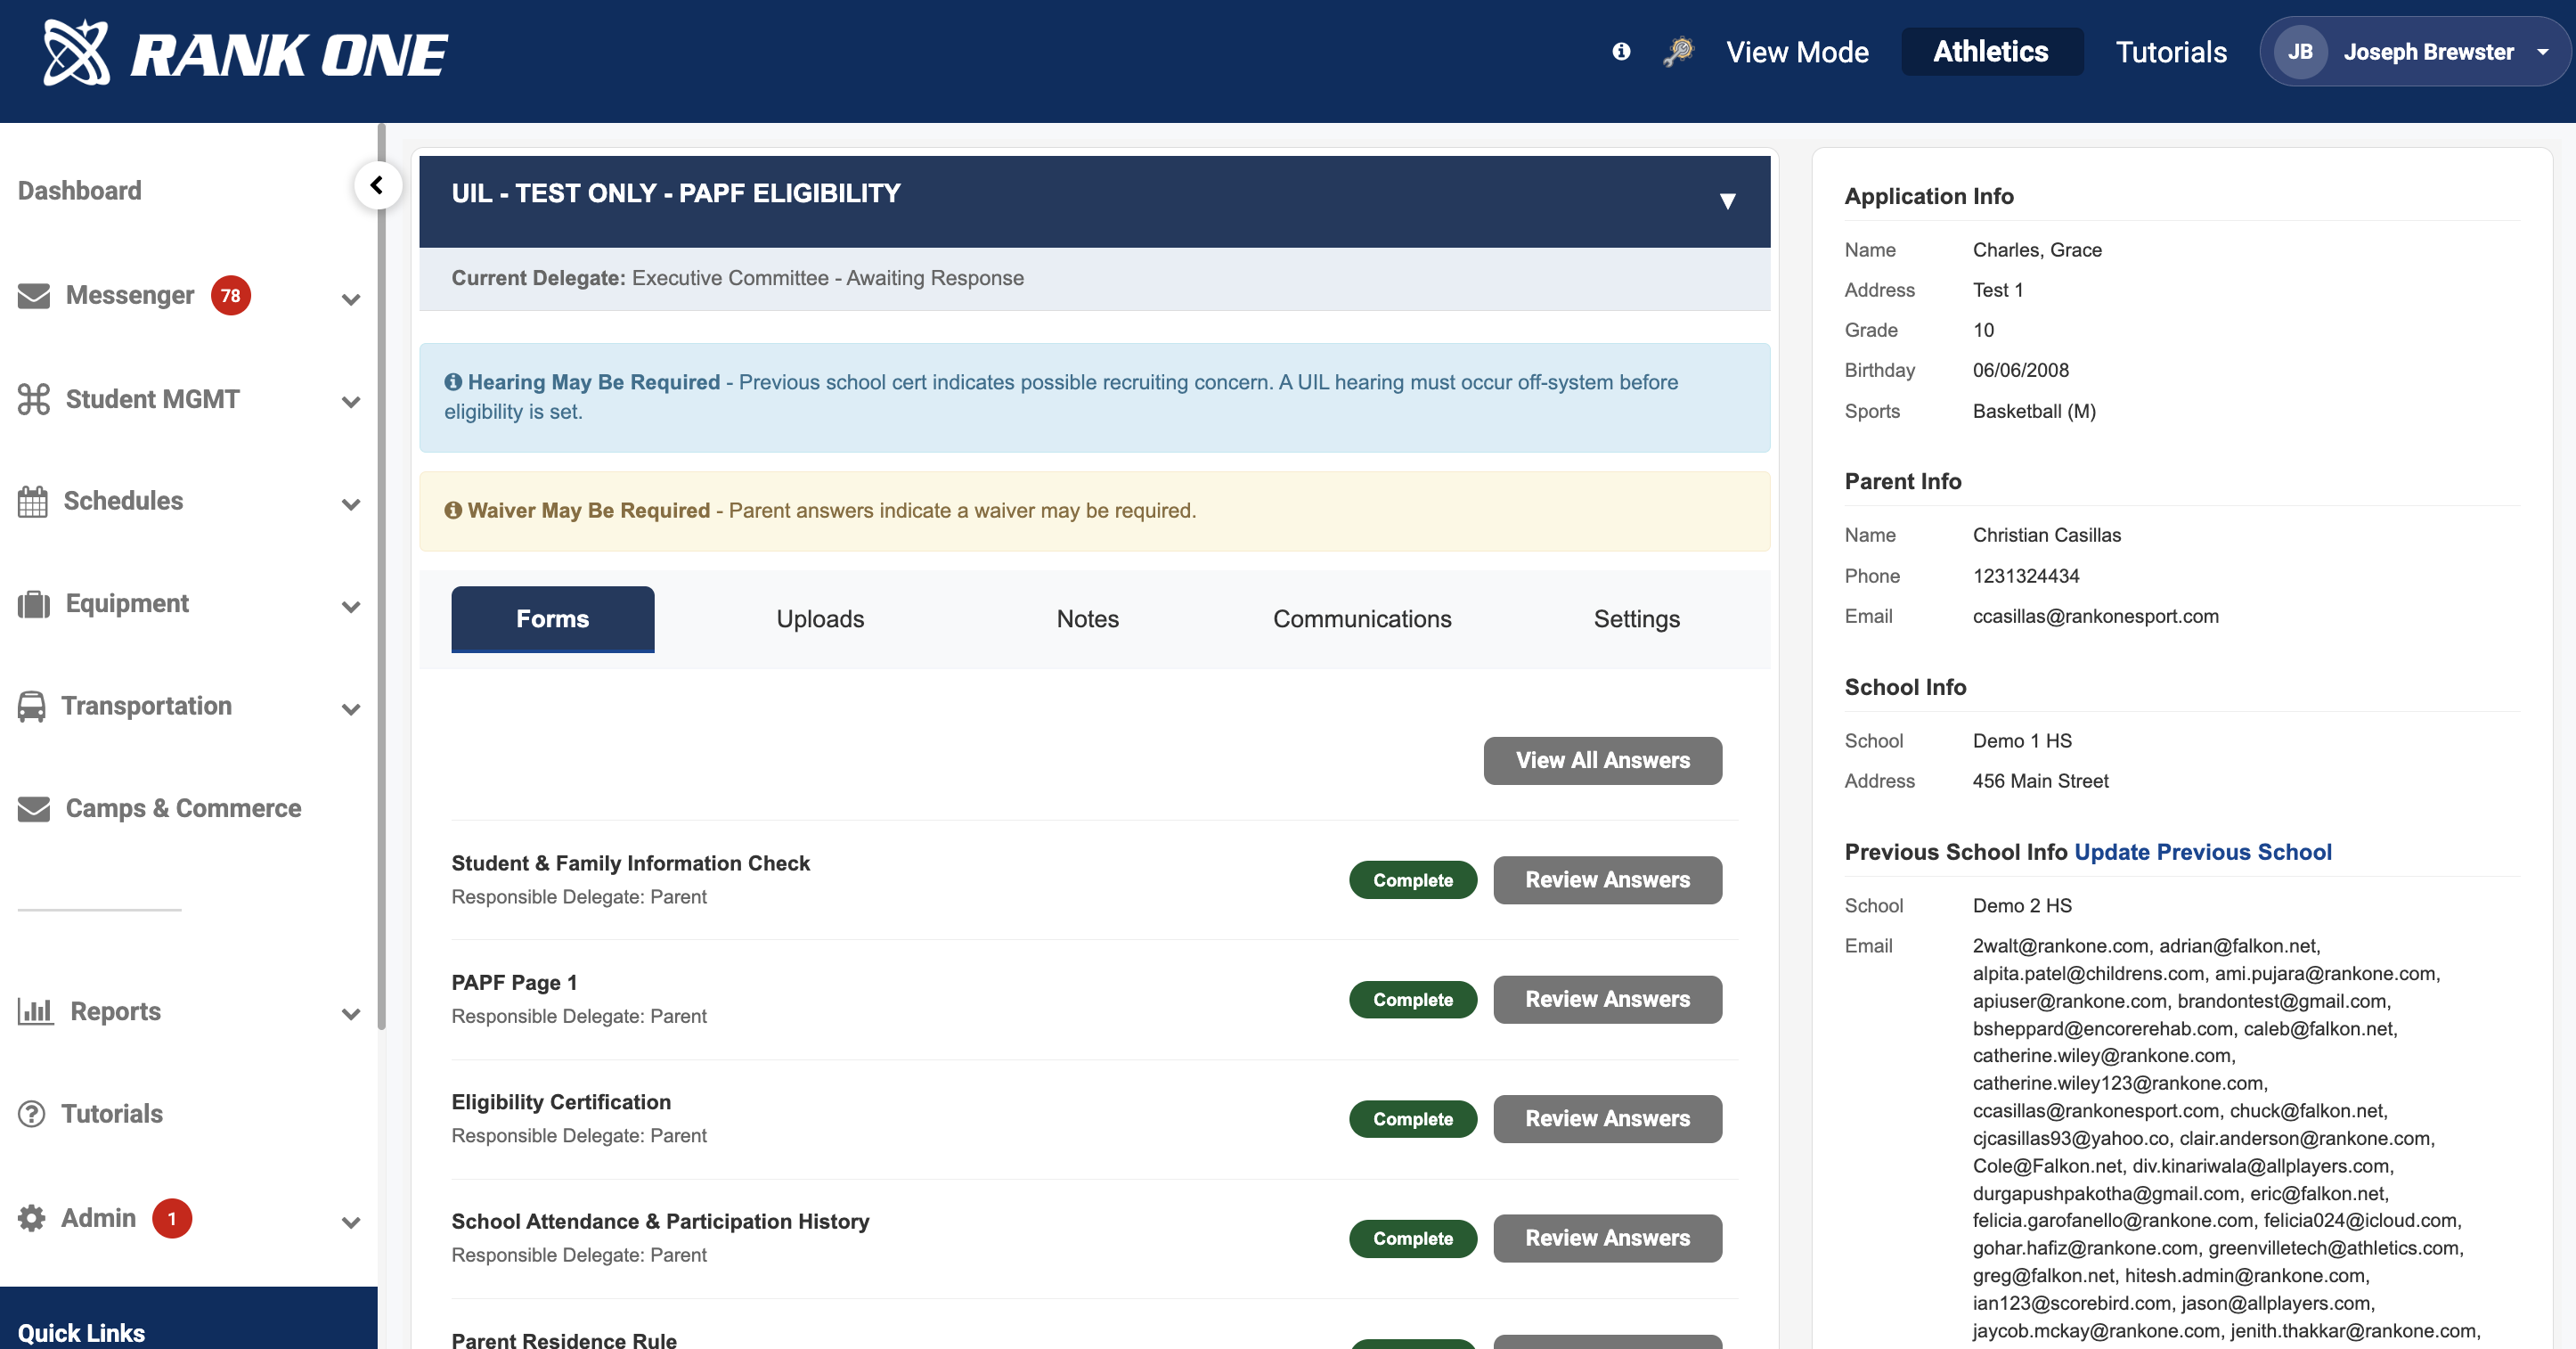
The PAPF begins with a single prescreening question: "Has the student attended a school other than [CURRENT SCHOOL] in the last 12 months?"
The parent's Yes or No answer determines whether a full PAPF evaluation is required. If the parent answered "Yes," the system routes the student into the transfer flow. However, if the student is not actually a transfer, the prescreening was answered incorrectly and corrective action is needed.
Before taking corrective action, verify the student's enrollment history against your school's records to confirm whether the answer is truly incorrect.
Review the parent's prescreening answer and compare it against your school's enrollment records. Determine whether the student is genuinely a transfer or if the prescreening was answered incorrectly.
Common scenarios where the prescreening may be answered incorrectly:
Once you have confirmed that the prescreening answer is incorrect, locate the Settings button or menu. This is typically found in the form header or action bar at the top of the PAPF form.
Click on Settings to reveal the available options for managing the form status.
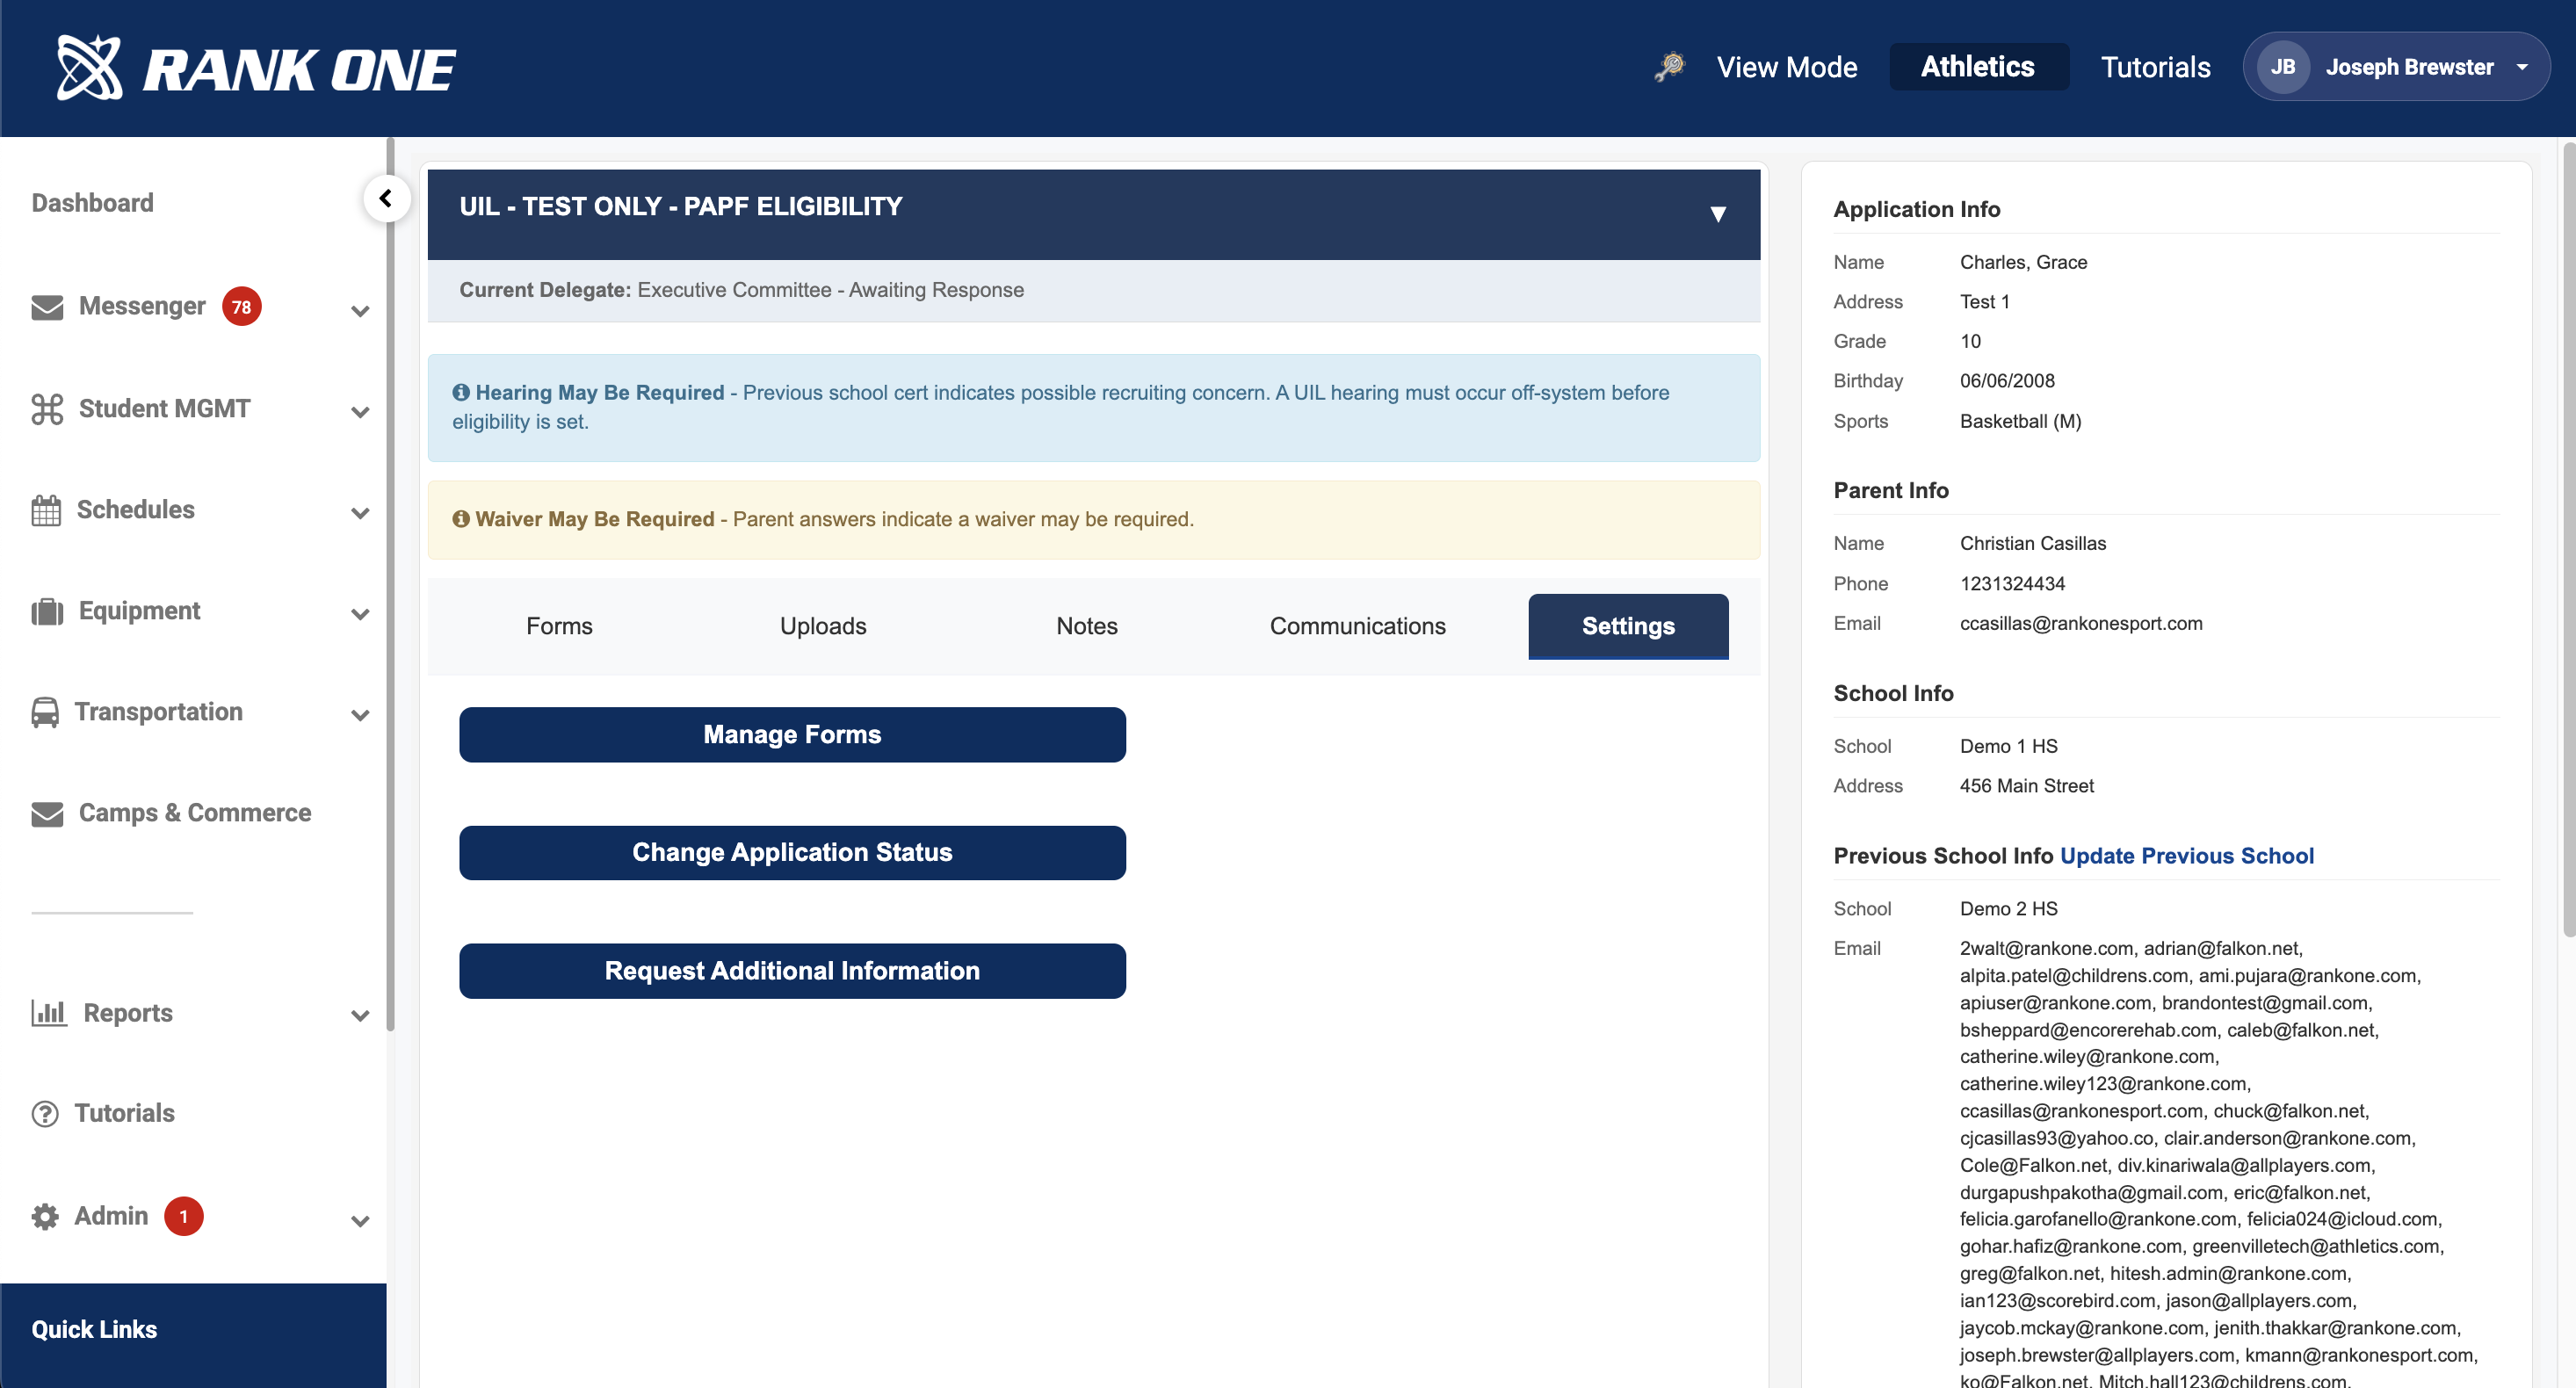
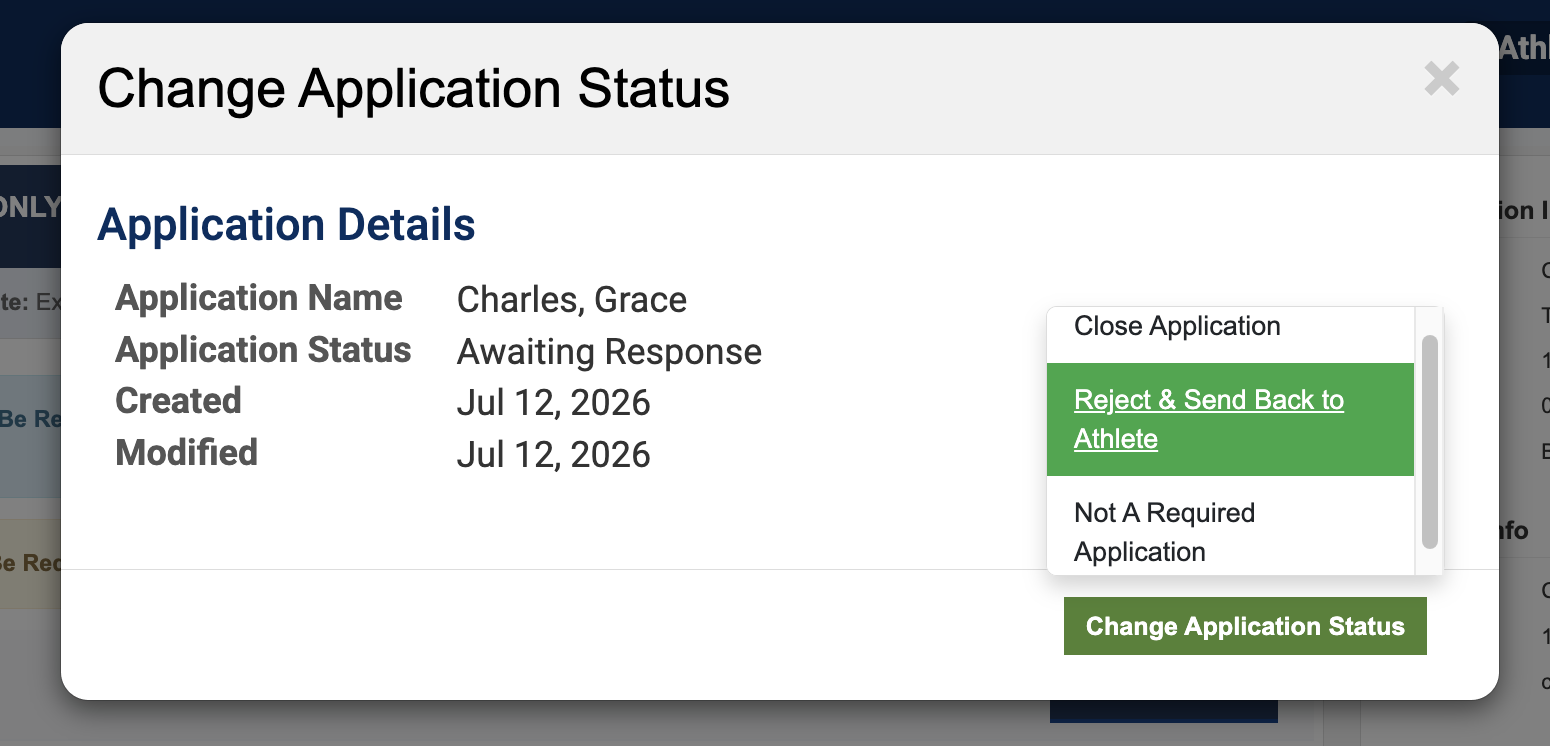
From the Settings menu, select Change Application Status. You will see two options:
Option A: Mark as "Not A Required Application"
Use this option when the student is genuinely not a transfer and the prescreening was answered incorrectly with "Yes" when it should have been "No." This action:
Option B: Reject & Send Back To Athlete
Use this option when the parent needs to correct their answer and resubmit the form. This action:
After selecting your corrective action, confirm the status change. The system will process your request and update the form status accordingly.
Return to the Incoming Transfer dashboard and verify that the form status has been updated:
Confirm that the student's eligibility status reflects the change. For example, if you marked the form as "Not A Required Application," any transfer-related holds should be cleared and the student's status should update to green (provided all other local eligibility requirements have been met).