Rank One Pro
← Back to Rank One Pro

Performance Tracker Tutorial

Rank One Pro · Last updated May 8, 2026

The Performance Tracker feature allows users to track student athlete information in two categories:

Important: You MUST have a roster built in order to use this feature. The item list must be set up through the website before using the feature in the mobile app.

Follow these steps to create the list of items you wish to track for your team.

Part 1: Setting Up Items to Track

1 Navigate to Manage Rosters

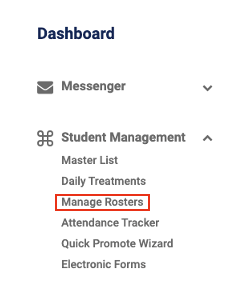
Hold your cursor over Student Management and select Manage Rosters.

Student Management menu with Manage Rosters highlighted
2 Select Your Roster

Bring up your roster by selecting the School, Sport, Level, and Team, then select View Roster.

Tip: If you do not have a roster built, see the Building Rosters Tutorial first.
3 Open Performance Tracker

After your roster populates, select Performance Tracker.

Roster view with Performance Tracker button highlighted

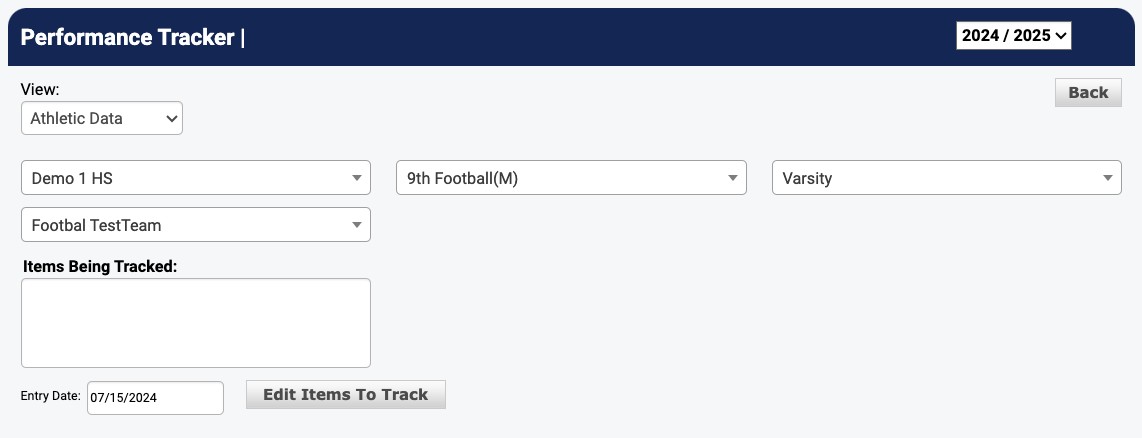
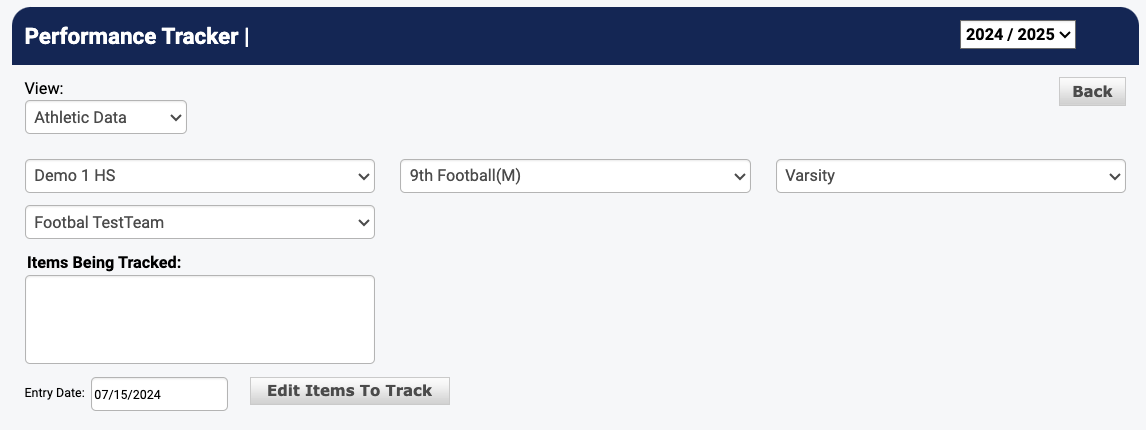
Select your roster filters at the top, then click the Performance Tracker button.

4 Edit Items to Track

Select Edit Items to Track.

Performance Tracker screen with Edit Items to Track button
5 Select Items to Track

Place a check in the box next to the items you would like to keep track of for your team. Personal Items are on the left and Athletic Items are on the right.

Select Items to Track dialog with Personal Items and Athletic Items columns

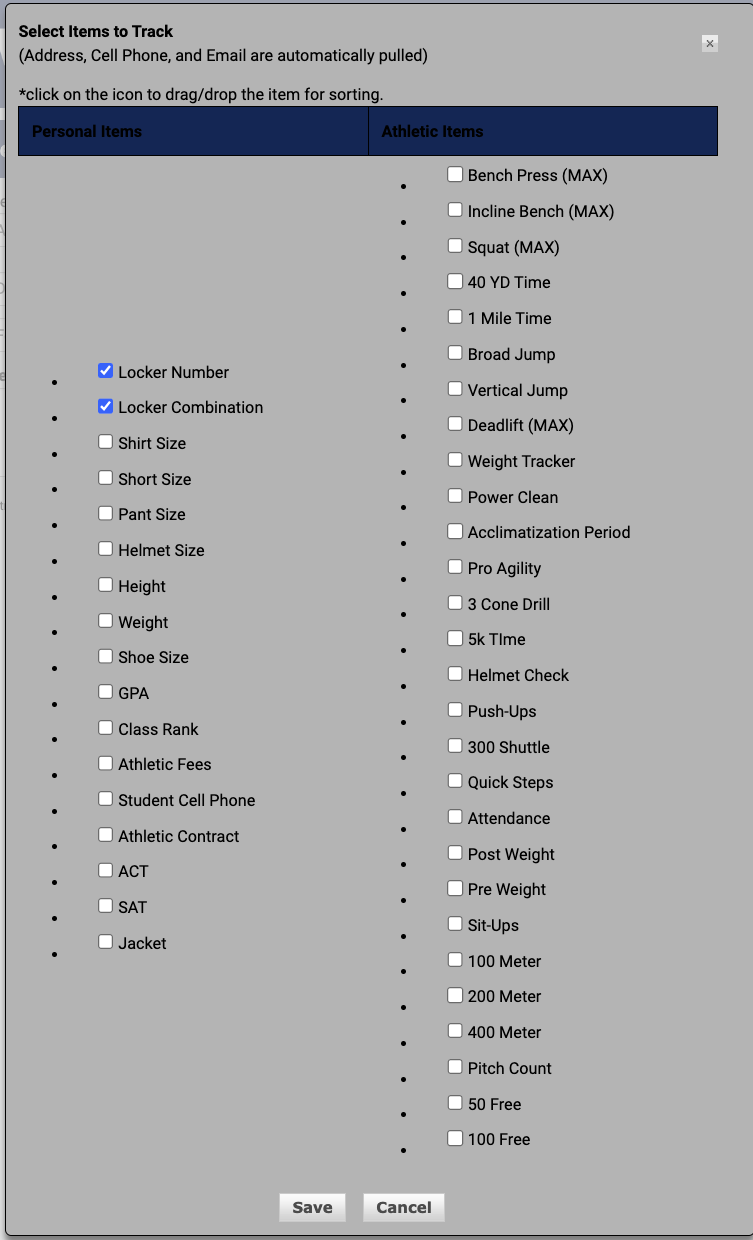
Check the boxes for each item you want to track. You can drag and drop items to reorder them.

Important: You cannot add custom items to this list. Please contact a Rank One representative if you need something added to the master list.
6 Save Your Selections

Select Save to confirm your item selections.

Part 2: Entering Performance Data

7 View Your Items List

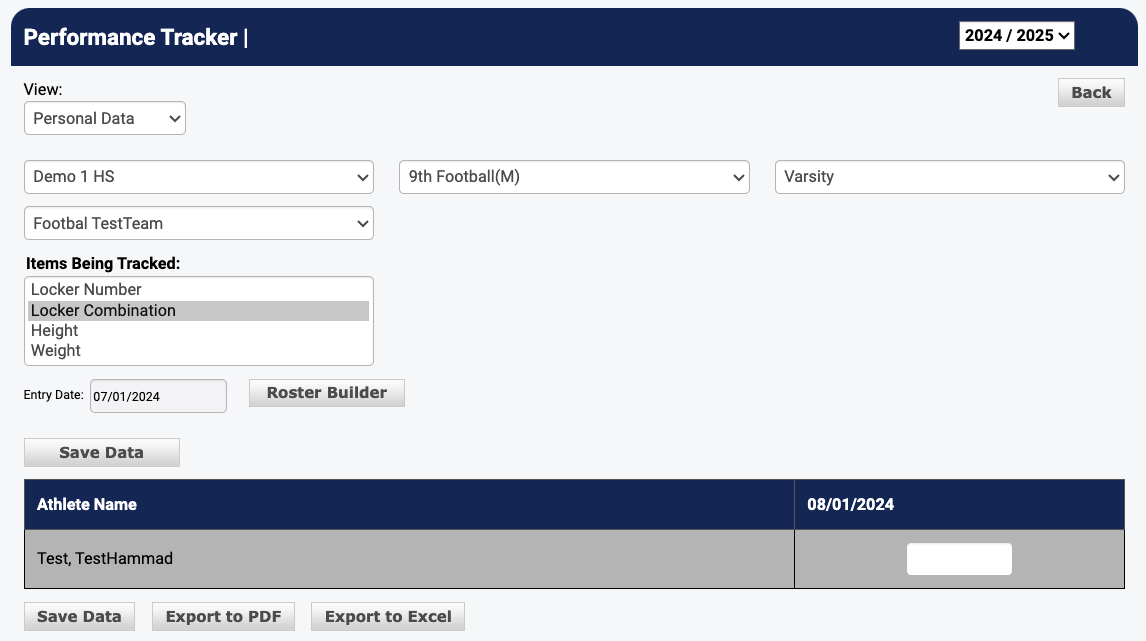
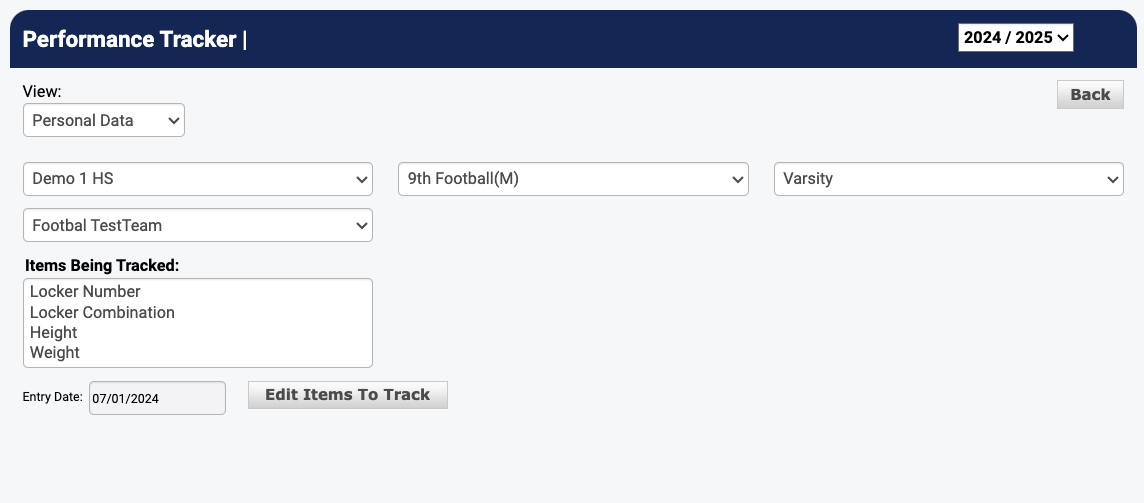
After saving your data, you will see your list of items. To access Personal Data, change the View dropdown to Personal Data.

Performance Tracker showing the View dropdown and Items Being Tracked
8 Add a New Entry

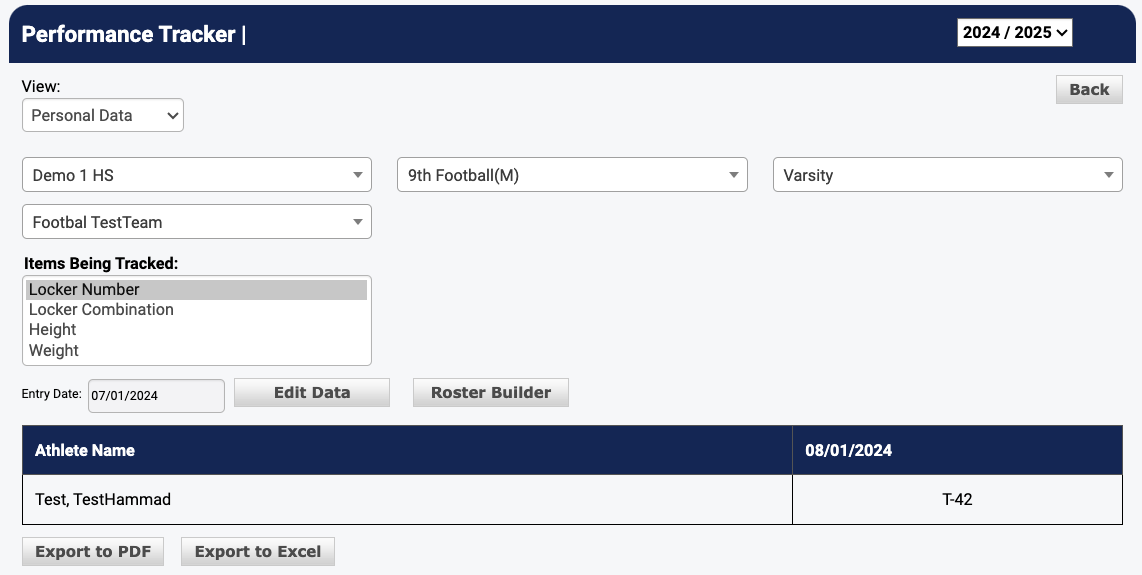
To add a new entry, select the data you are tracking, the item being tracked, and click Add New Entry.

Performance Tracker with Personal Data view showing items and Add New Entry
9 Enter Results

Enter in the results for the appropriate student by clicking the item you wish to track, followed by Edit Data. The new entry will show the current day's date after saving.

Performance Tracker with Edit Data and Roster Builder buttons, showing athlete data entry
10 Save Data

After your entries are complete, select Save Data.

Performance Tracker with Save Data button and athlete entries displayed
Tip: For help using the Performance Tracker on the mobile app, please refer to the Performance Tracker App tutorial.