Rank One Pro
← Back to Rank One Pro

Program Builder Tutorial

Rank One Pro · Last updated May 8, 2026

The Program Builder allows you to create customized team programs that can be shared publicly or with opposing teams. Its functions include:

  1. Allows an option that can allow the public to see students on a team roster
  2. Allows coaches the ability to customize their program
  3. Provides the opposing team a program for each game
Important: You MUST have a roster built before you can use the Program Builder.

Part 1: Accessing the Program Builder

1 Navigate to Manage Rosters

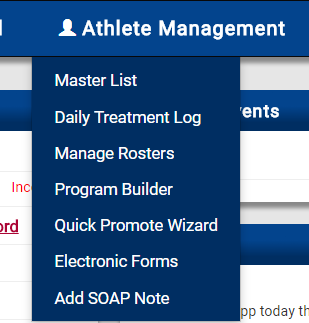
Hold your cursor over Athlete Management and select Manage Rosters.

Athlete Management dropdown menu with Manage Rosters highlighted
2 Select Your Roster

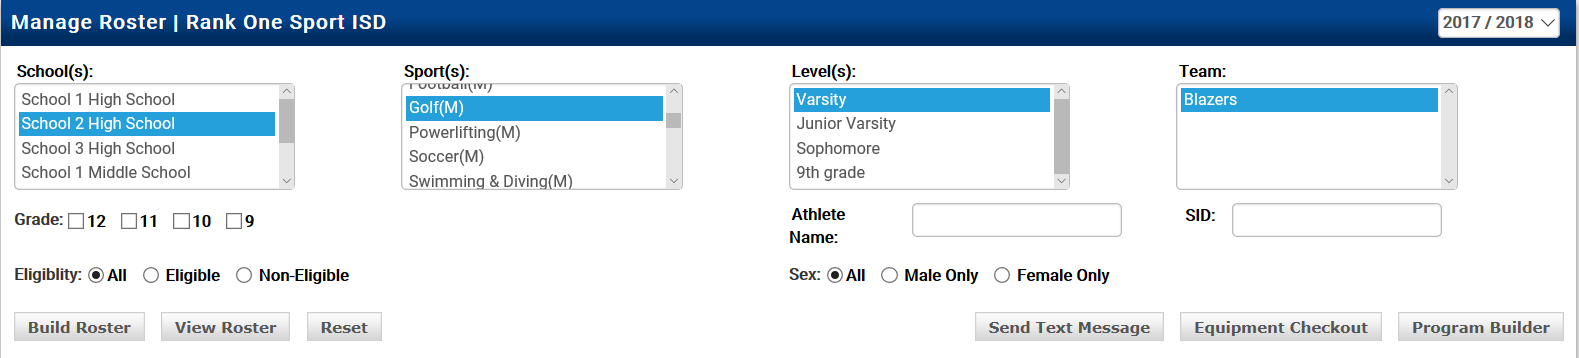
Select the School, Sport, Level, and Team, then select View Roster.

Manage Roster page with School, Sport, Level, and Team filters and View Roster button
3 Open Program Builder

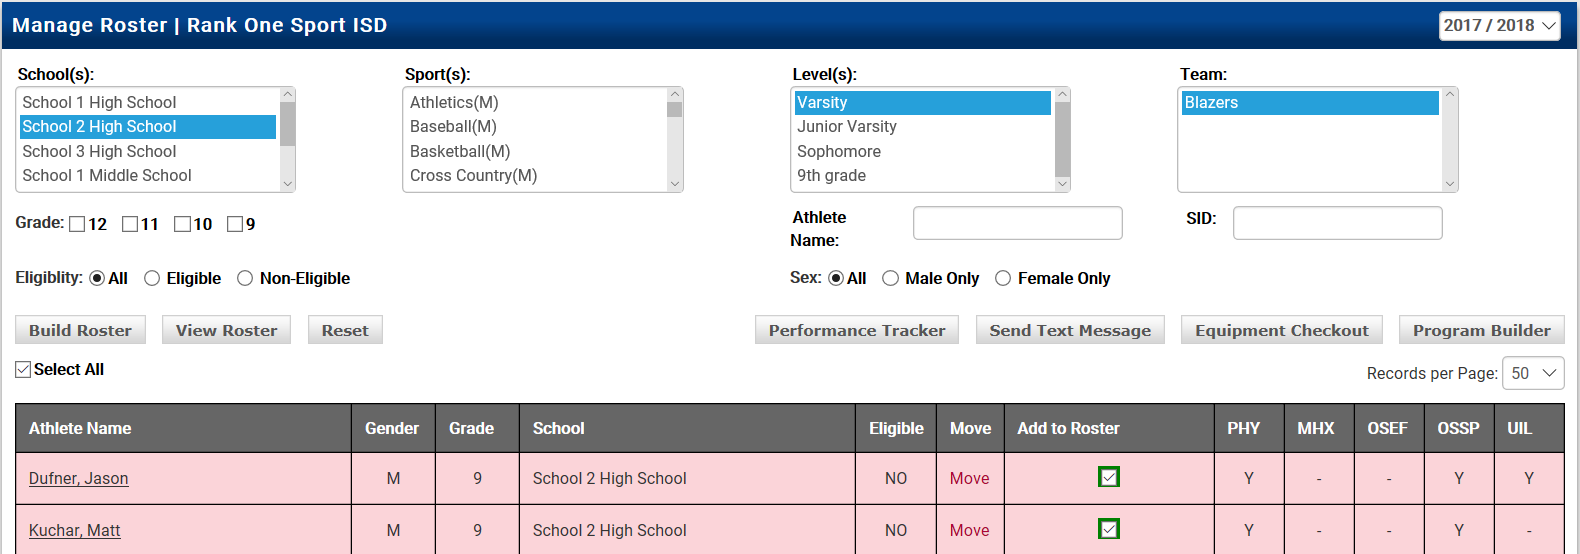
After the roster populates below, select Program Builder.

Roster view with Program Builder button highlighted

Part 2: Customizing Your Program

4 Select Customize Program

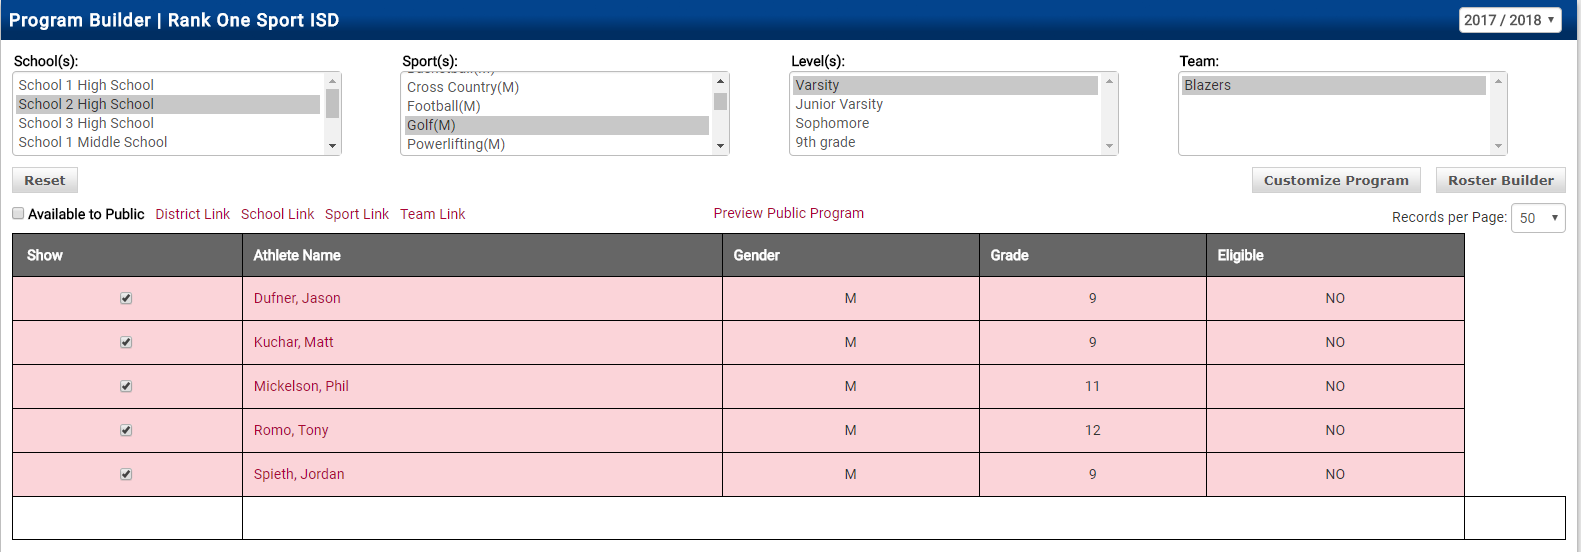
Select Customize Program to begin setting up your program columns.

Program Builder page with Customize Program button highlighted
5 Choose Columns to Display

Place a check in each box that you would like to display on the program. There are 2 custom fields that allow you to create your own column name (for example, Class Rank, GPA, etc.).

Program Builder Customize screen showing column names with Enable checkboxes and Column Order
6 Customize Column Order

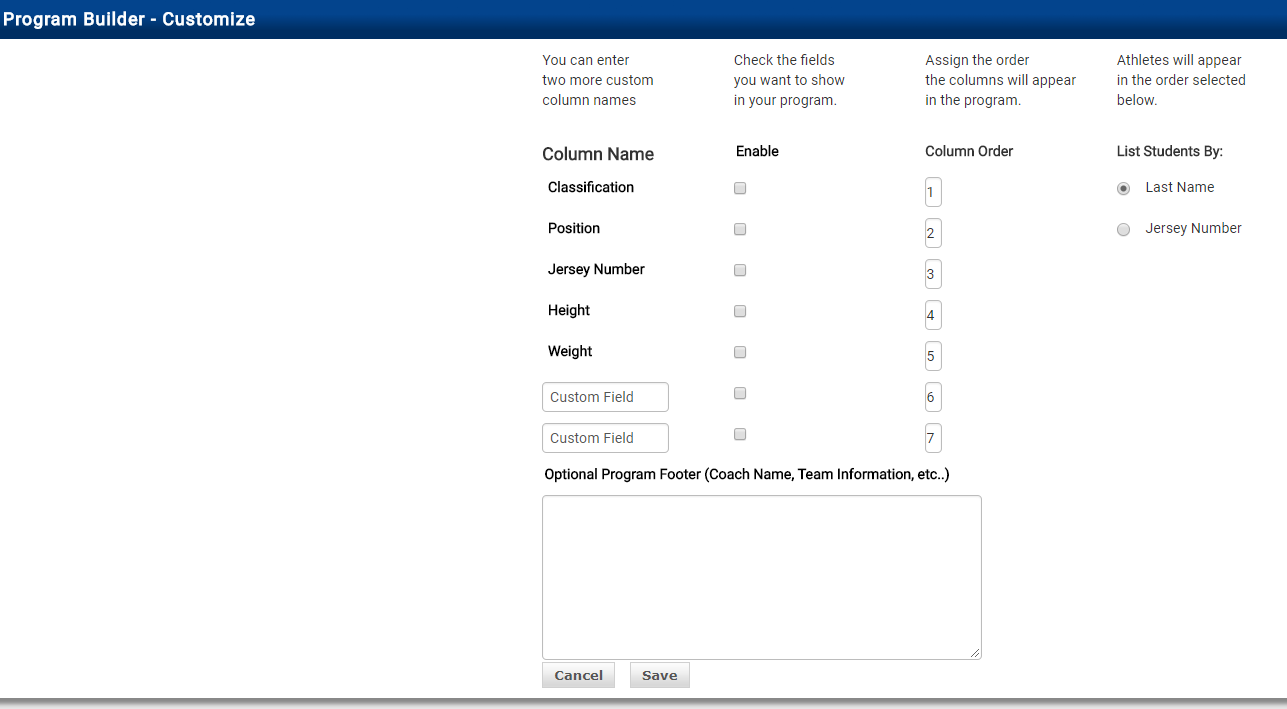
You have the option to customize the column order however you like by adjusting the order number.

Program Builder Customize screen with Column Order numbers highlighted

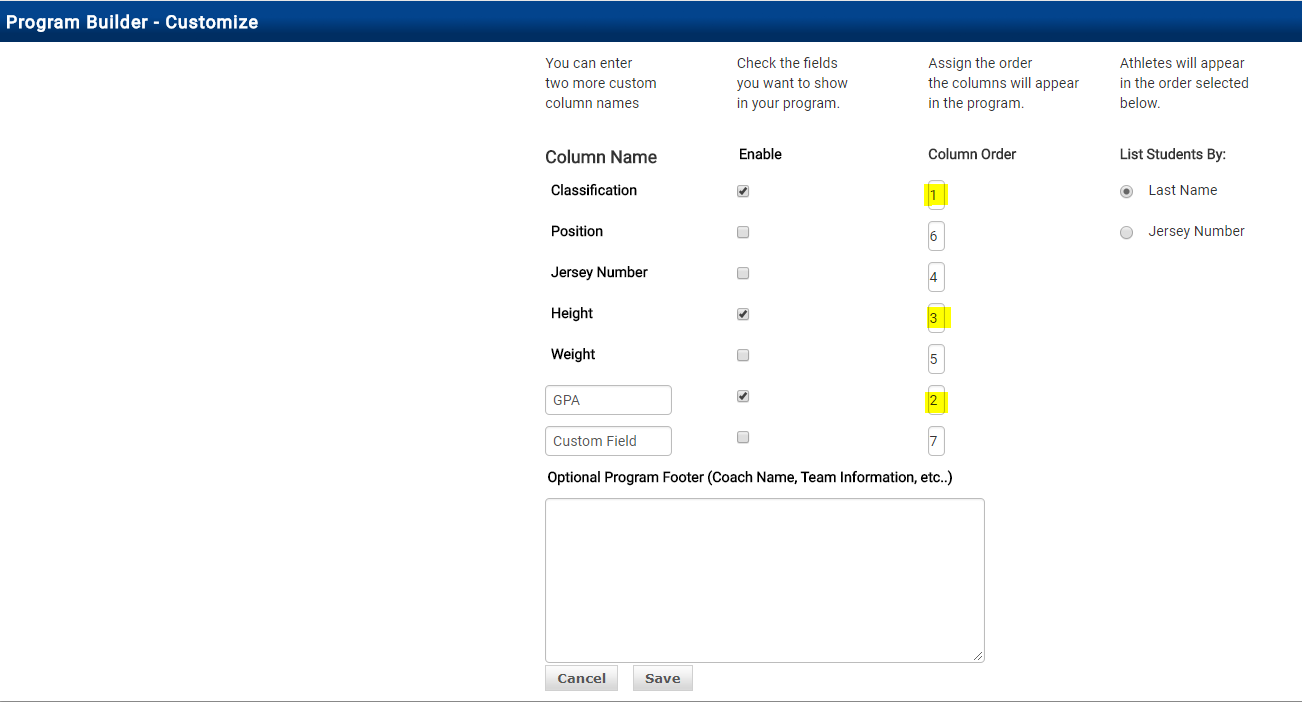
Change the order numbers to rearrange how columns appear in the program.

Tip: The order of the students will display by Last Name or Jersey Number. Select your preferred sort order on the right side of the customization screen.
7 Add an Optional Program Footer

You may also list additional notes in the Optional Program Footer (e.g., Coach Name, Team Information, etc.).

Program Builder Customize screen with Optional Program Footer field highlighted
8 Save Your Customization

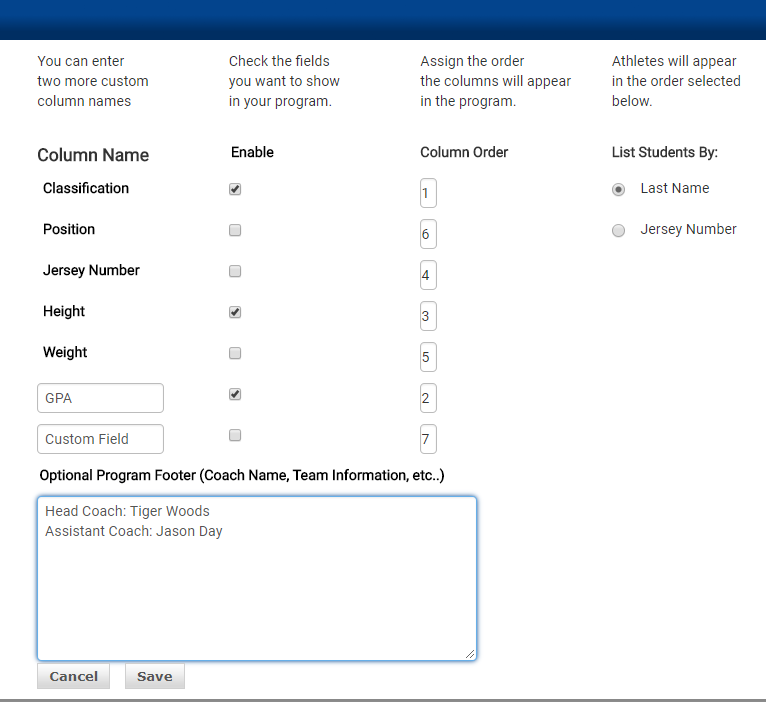
When you are finished customizing your program, select Save.

Program Builder with filled data columns showing Classification, GPA, and Height

Part 3: Entering Program Data

9 Fill in Program Information

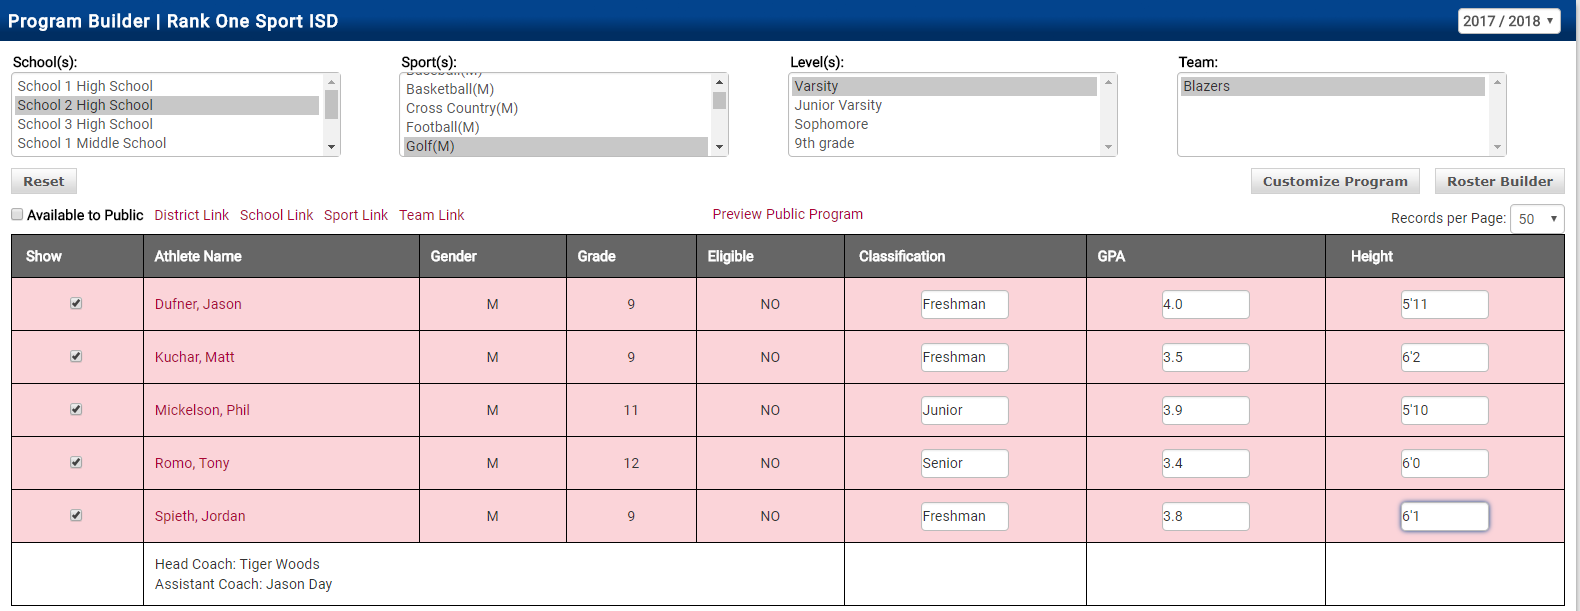
Go through your roster and type in the appropriate information in the program columns.

Program Builder showing roster with editable Classification, GPA, and Height columns
Tip: You do not have to click Save after filling in the information — the system automatically saves the program entries.
10 Add a Photo or Bio

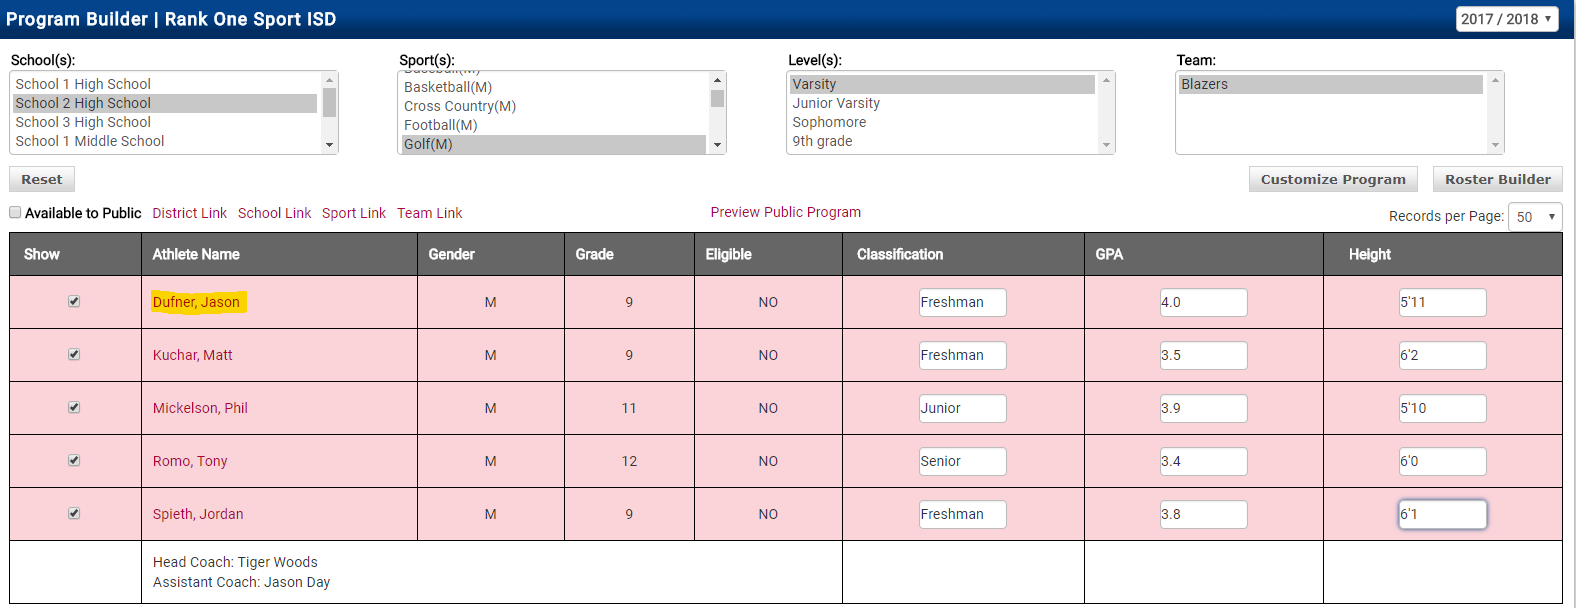
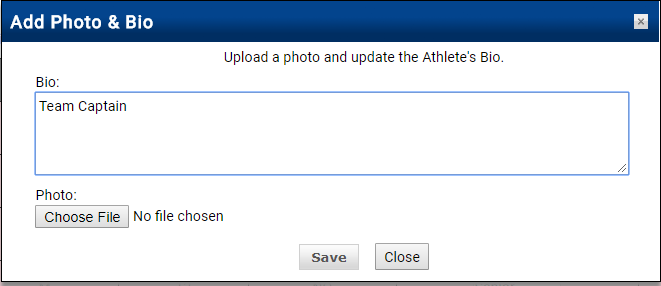
If you would like to add a photo or a custom bio, click on an Athlete's Name.

You may type the Athlete Bio and/or click Choose File to select a photo from your documents. Select Save.

Add Photo and Bio dialog with Bio text field and Choose File button

Part 4: Publishing Your Program

11 Preview Your Program

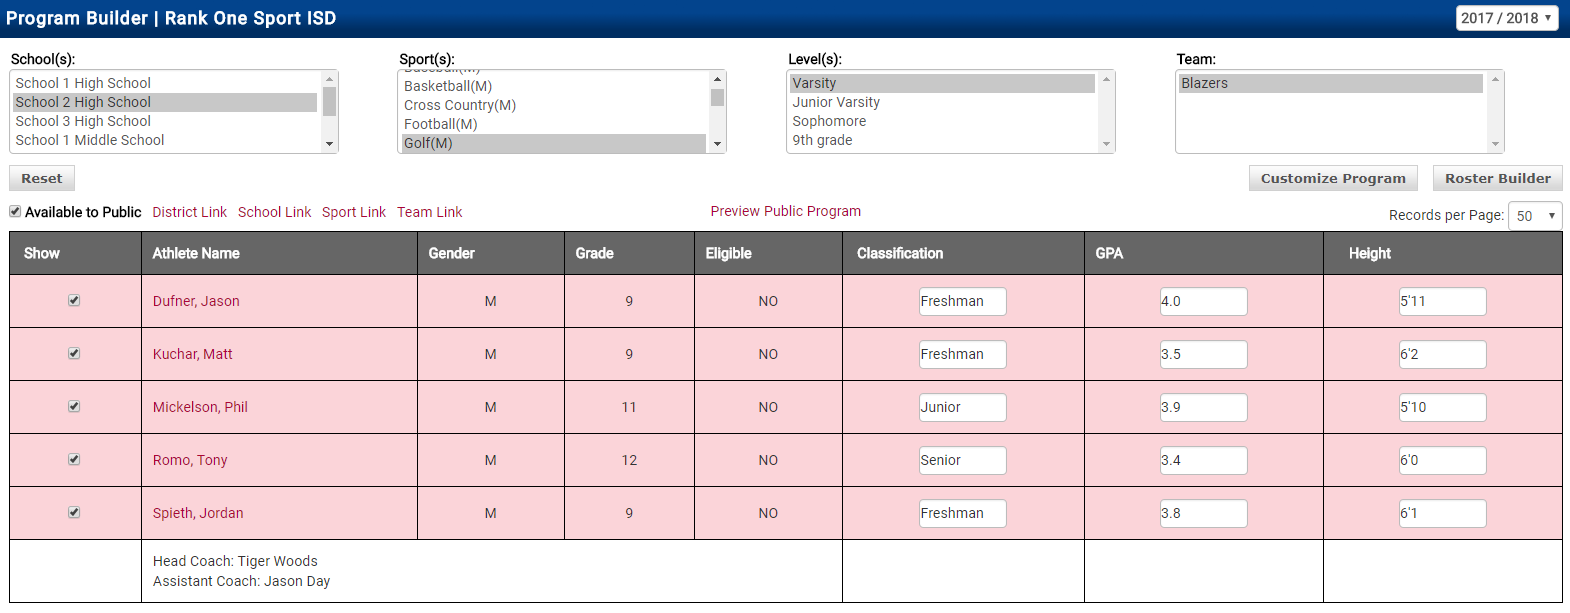
To view your program, select Preview Public Program.

Public program preview showing roster with program details
12 Make Program Available to Public

If you would like your program available to the public, place a check in the Available to Public box.

Program Builder with Available to Public checkbox

The program will be available to view on the Schedule by selecting View Roster.